Getting Started with Robot Faces
Here are the steps you can use to get started drawing your own robot faces.
Step 1: Getting Hardware
You can order the parts online or work with one of our programs that supply parts for classrooms. The minimal drawing kit contains:
- A Raspberry Pi Pico
- A mini solderless [Breadboard]../docs/parts-lists/#solderless-breadboard)
- An OLED display
- M-F jumper wires
Step 2: Installing Software

We use the "Thonny" editor to program our faces. To use it you will need to:
- Download and install Thonny
- Initialize the runtime by using the Thonny Tools -> Options -> Interpreter and select the Raspberry Pi Pico option
- Press the Install Runtime button
- Press the Stop/Reset and you should see the prompt:
1 2 3 4 5 | |
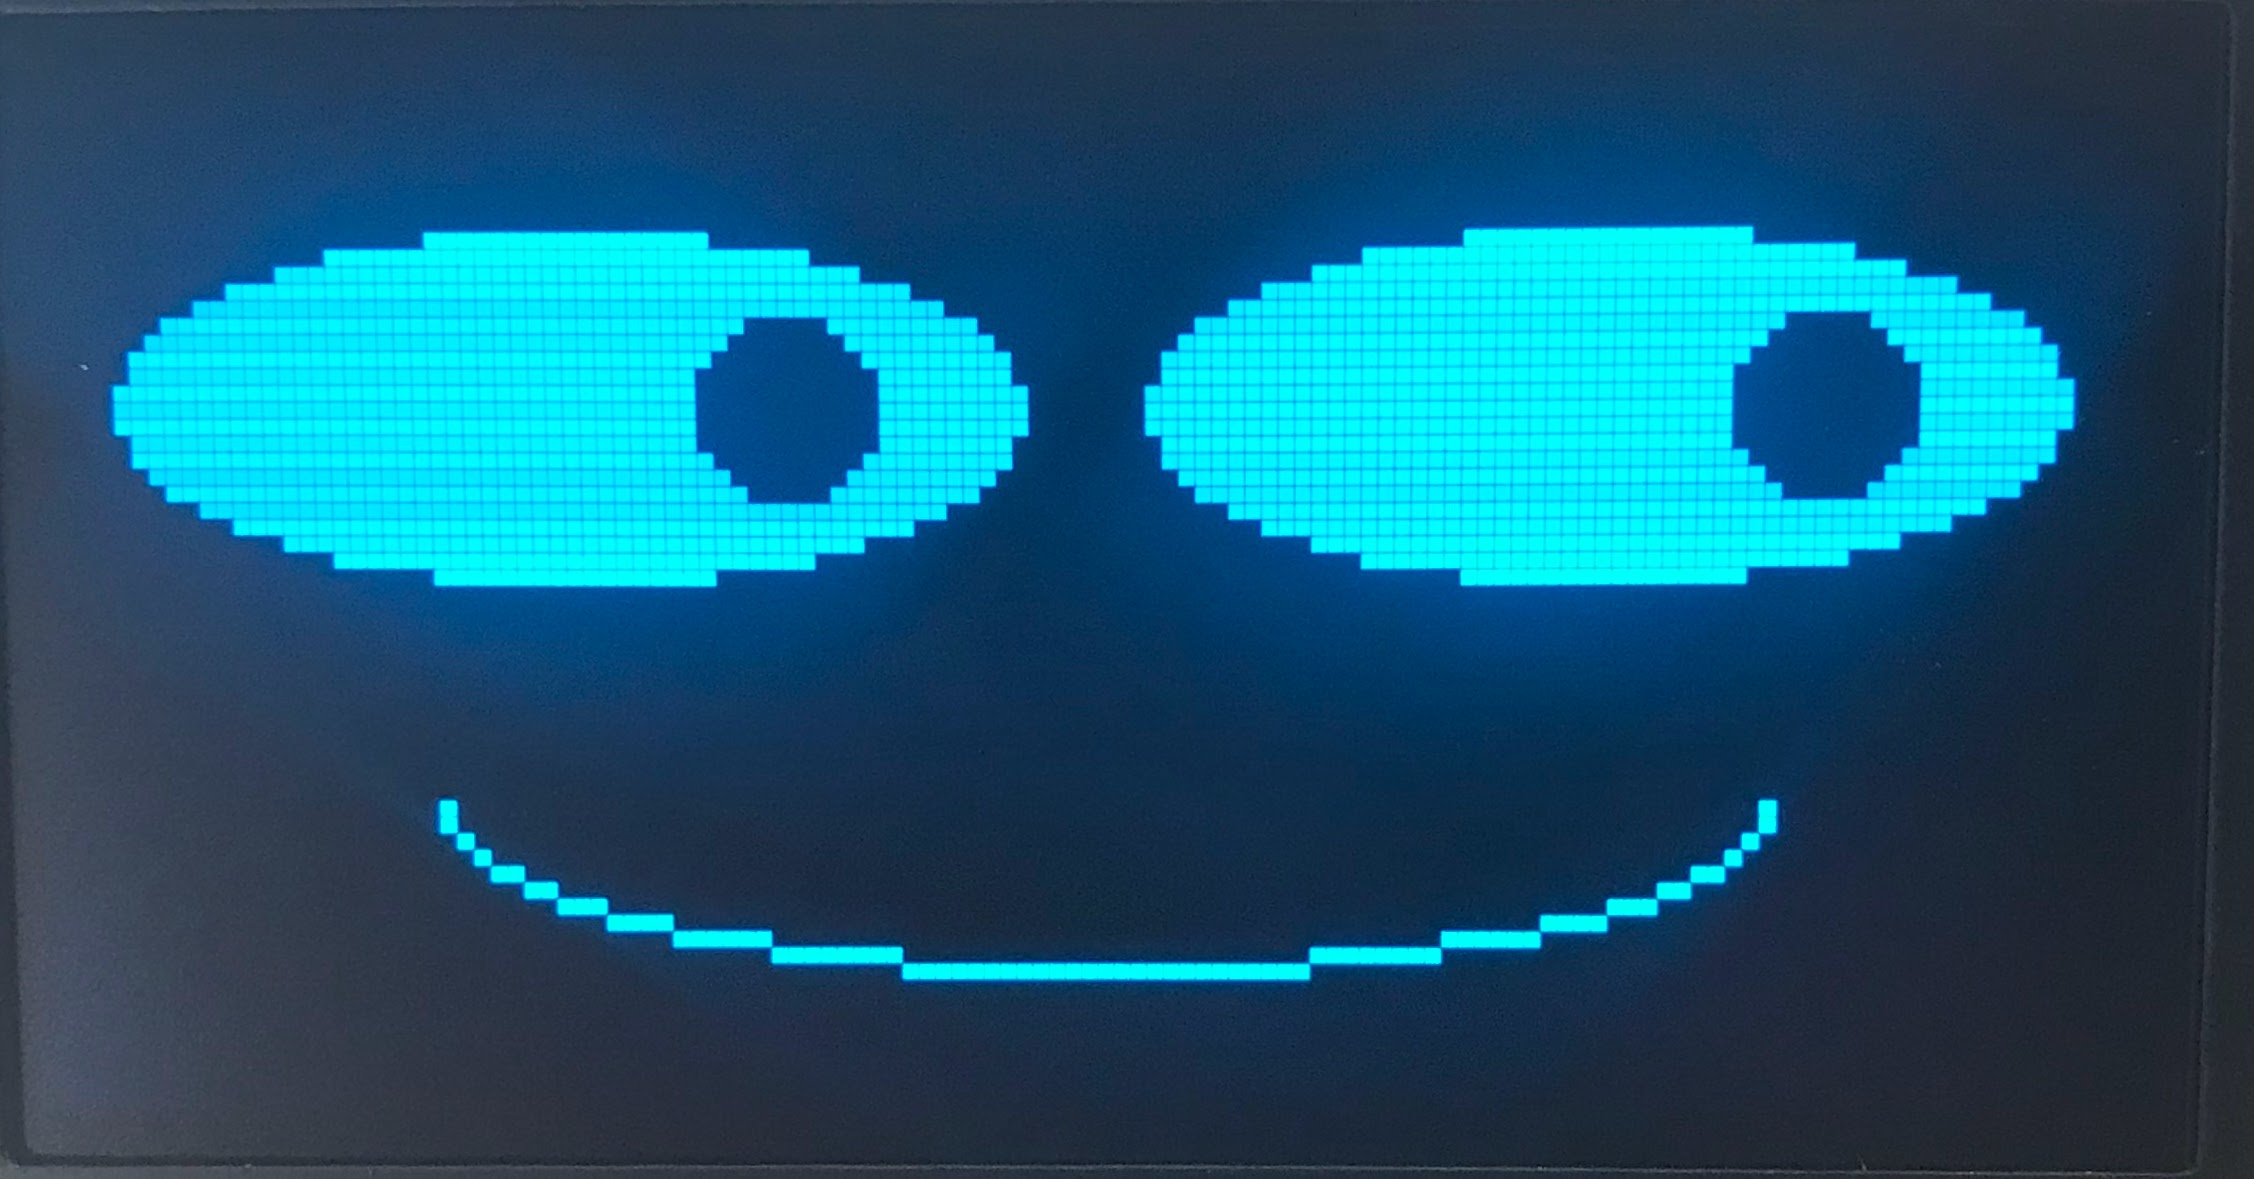
Drawing Your Fist Face
You can now copy our "simple-face.py" program into your microcontroller into your Thonny program and press the green "Run" button. You will see the following on your display: