Lab 01: Blink the Onboard LED
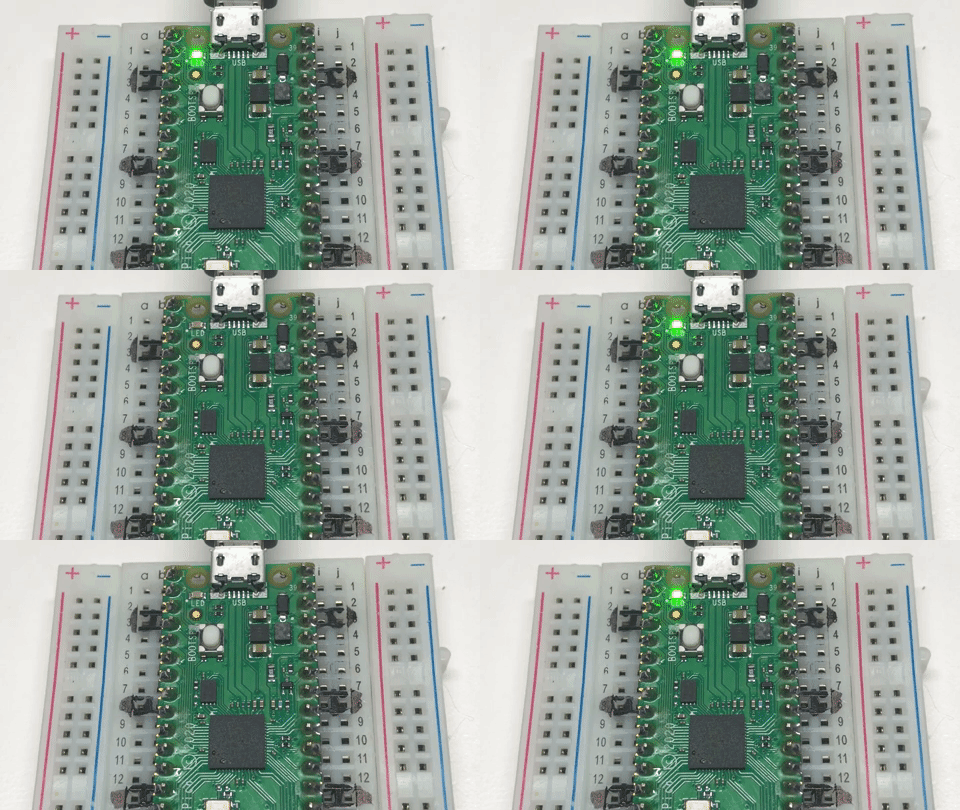
Before you trust the screen or the speaker, make sure the Pico itself works. This lab uses nothing but the board: one tiny light, on and off, twice a second.
Welcome to Lab 01
 A blinking light is the "hello" of hardware. When it blinks, you know
the board, the cable, and MicroPython all work, so any problem later
is in the wiring or the code. Let's make time tick!
What You Will Learn
- how to run a program on the Pico from Thonny
- how to turn a pin on and off
- why the Pico W's light is called
"LED"and not a pin number
Run It
Open 01-blink-onboard-led.py in Thonny and click Run. The shell
prints 01-blink-onboard-led.py v1.0, and the small LED next to the USB
socket starts blinking. Click Stop to end it.
The Code
1 2 3 4 5 6 7 8 | |
Pin("LED", Pin.OUT)gets the onboard light, ready to switch.while True:repeats the indented lines forever. That's a loop.led.toggle()flips the light: on if it was off, off if it was on.sleep(0.5)waits half a second.
On a plain Pico the LED is on pin 25. On a Pico W it is wired to the WiFi
chip instead, so you must use the name "LED". Pin(25) does nothing on
a Pico W.
Try This
- Change
0.5to0.1. How fast can it blink before it looks like it's always on? - Make it blink like a heartbeat: two quick blinks, then a pause.
If It Doesn't Work
- The LED stays dark. Check that you put the Pico W version of
MicroPython on the board (
RPI_PICO_W), not the plain Pico version. - Thonny can't find the board. Try another USB cable. Some cables only carry power, not data.
The Board Is Alive!
 You ran your first program and switched a pin on and off. That proves
the Pico, the cable, and MicroPython all work, which is the base every
other lab stands on.