Chrono Smart Clock Kit
Build a clock that sets itself, shows the weather, and does whatever you program it to do.
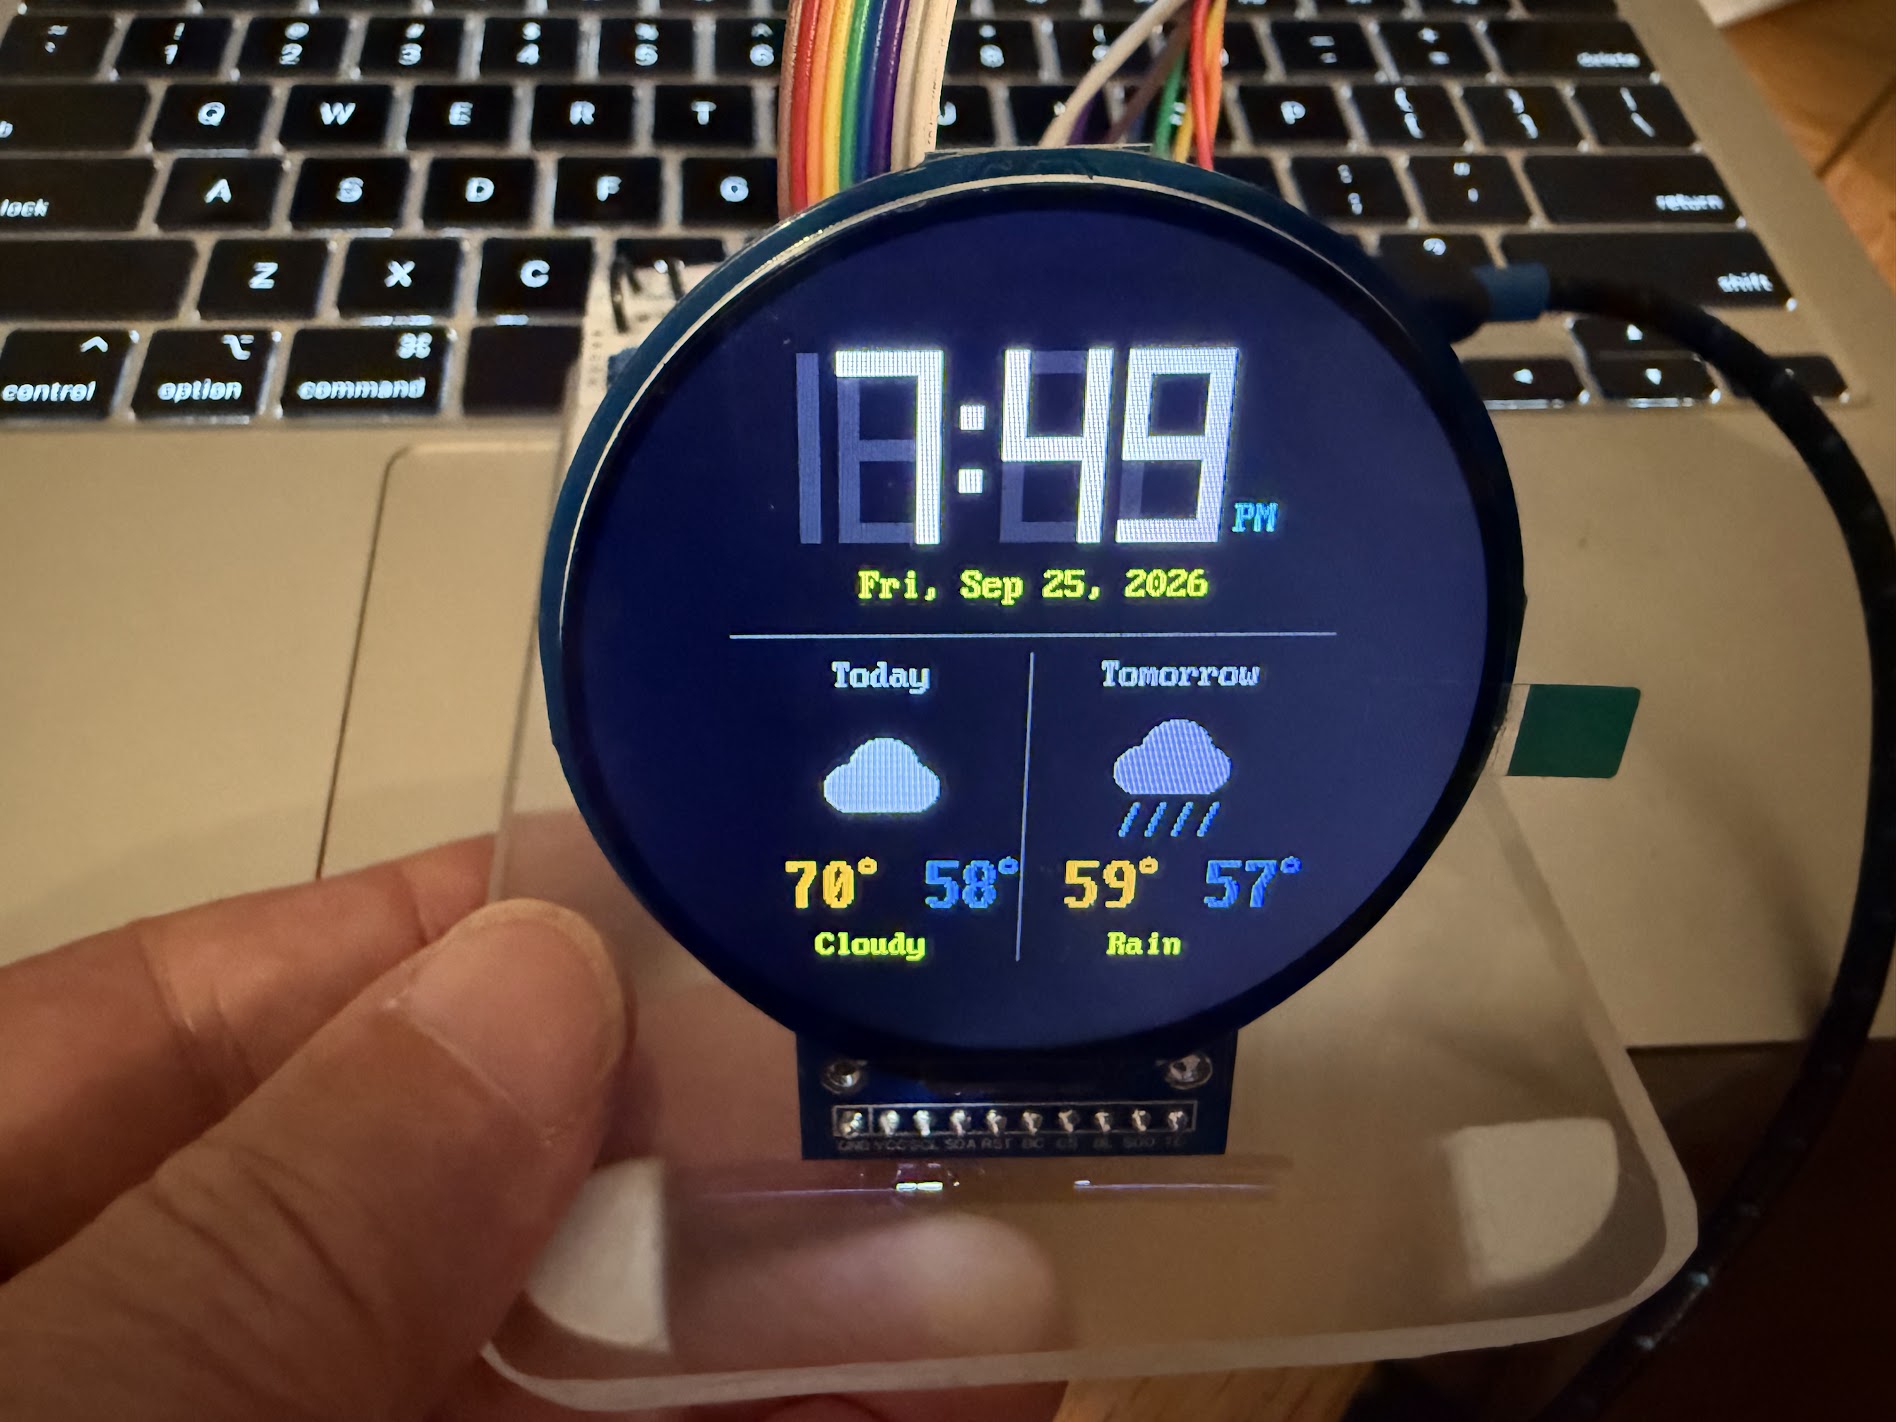
Most clocks just sit there. This one is a tiny computer with a bright round screen, and you write every line of its code. Along the way you learn real Python, the same language used by scientists and game makers, and you finish with a clock you can put on your desk and show off.
Ages 10 and up. No soldering. No experience needed. Under $20 in parts.
What Your Clock Will Do
- Set its own time. It asks the internet what time it is, so it is never wrong.
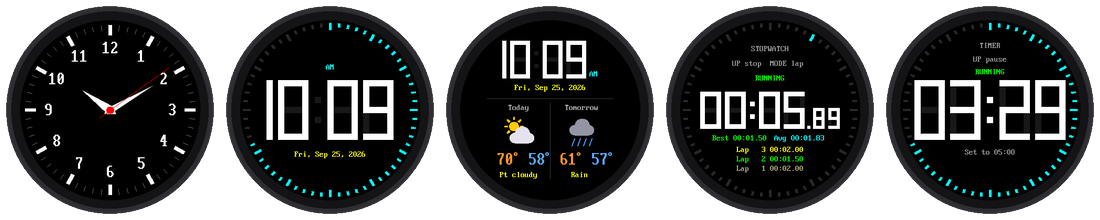
- Show the time your way. Pick giant digital numbers or an old-style clock face with moving hands. Then design your own.
- Tell you the weather. Today's and tomorrow's forecast appear with little pictures of sun, clouds, rain, and snow.
- Time laps and count down. It works as a stopwatch that records laps and as a countdown timer with a flashing alarm.
- Switch with one button. Press MODE to step through all five faces.
Meet Chrono
 Hi, I'm Chrono! I'm a robot, and my head is the same kind of round
screen you're about to program, so these labs are a little personal
for me. By the end, you'll have a clock that you built and that runs
your code. I'll pop up in the labs to give you tips, warn you about
traps, and cheer when you finish. Let's make time tick!
Hi, I'm Chrono! I'm a robot, and my head is the same kind of round
screen you're about to program, so these labs are a little personal
for me. By the end, you'll have a clock that you built and that runs
your code. I'll pop up in the labs to give you tips, warn you about
traps, and cheer when you finish. Let's make time tick!
How It Works
There are 13 short labs, numbered 00 to 12. Each lab is one program, and each one teaches a single new idea that you use in the labs after it.
- Wake it up (labs 00–02). Blink a light, check the kit, and say hello on the screen. You'll see your own words glow in about an hour.
- Make it a clock (labs 03–05). Show the time, set it from the internet, and build a clock face with moving hands.
- Make it yours (labs 06–08). Read the buttons, set the time by hand, and build a giant-number digital face.
- Make it smart (labs 09–12). Fetch the weather, add a stopwatch and a timer, and put it all together into one clock with five modes.
Why Kids (and Grown-Ups) Like It
- You see results fast. Every lab ends with something new on the screen, not just text in a window.
- It is a real computer. The Raspberry Pi Pico W is the same kind of chip found in appliances, toys, and instruments.
- It is yours to change. Every color, size, word, and layout is something you can edit. No two finished clocks look the same.
- Mistakes are cheap and safe. Nothing you type can break the kit. The only thing to watch is one wire, and the kit tells you which.
For Parents
- What your child learns: Python programming, how a computer reads buttons and draws to a screen, how a clock keeps time, and how a device gets data from the internet.
- How much help they need: Most 10–12 year olds do the labs on their own once the kit is set up. An adult helps most with the first-time setup (about 30 minutes).
- Privacy and safety: The clock has no microphone and no camera. It connects to your home WiFi only to get the time and a public weather forecast, and it stores nothing about your family. It runs on a 5-volt USB cable, so there is no mains wiring.
- What it costs: Under $20 in parts (a $5 Pico and a $6 display are the big two), and no subscription. See Notes for Teachers for where to buy.
For Teachers, Mentors, and Volunteers
- Fits a class period. Each lab is a self-contained 30–45 minute session with a working result at the end. Labs 00–03 make a good first meeting.
- No soldering, no special tools. Everything plugs into a breadboard.
- Low cost. At under $20 a kit, a class of 30 costs less than $600.
- Runs on what you have. Any computer that runs Thonny (Windows, Mac, Chromebook, Linux) works.
- Every picture is real. The screen images come from the labs' own code running on the display, so what students see in the book is what they get.
- You don't need to be an expert. The Notes for Teachers give the sourcing guide, timings, and a troubleshooting table for the problems that come up most.
What's in the Kit
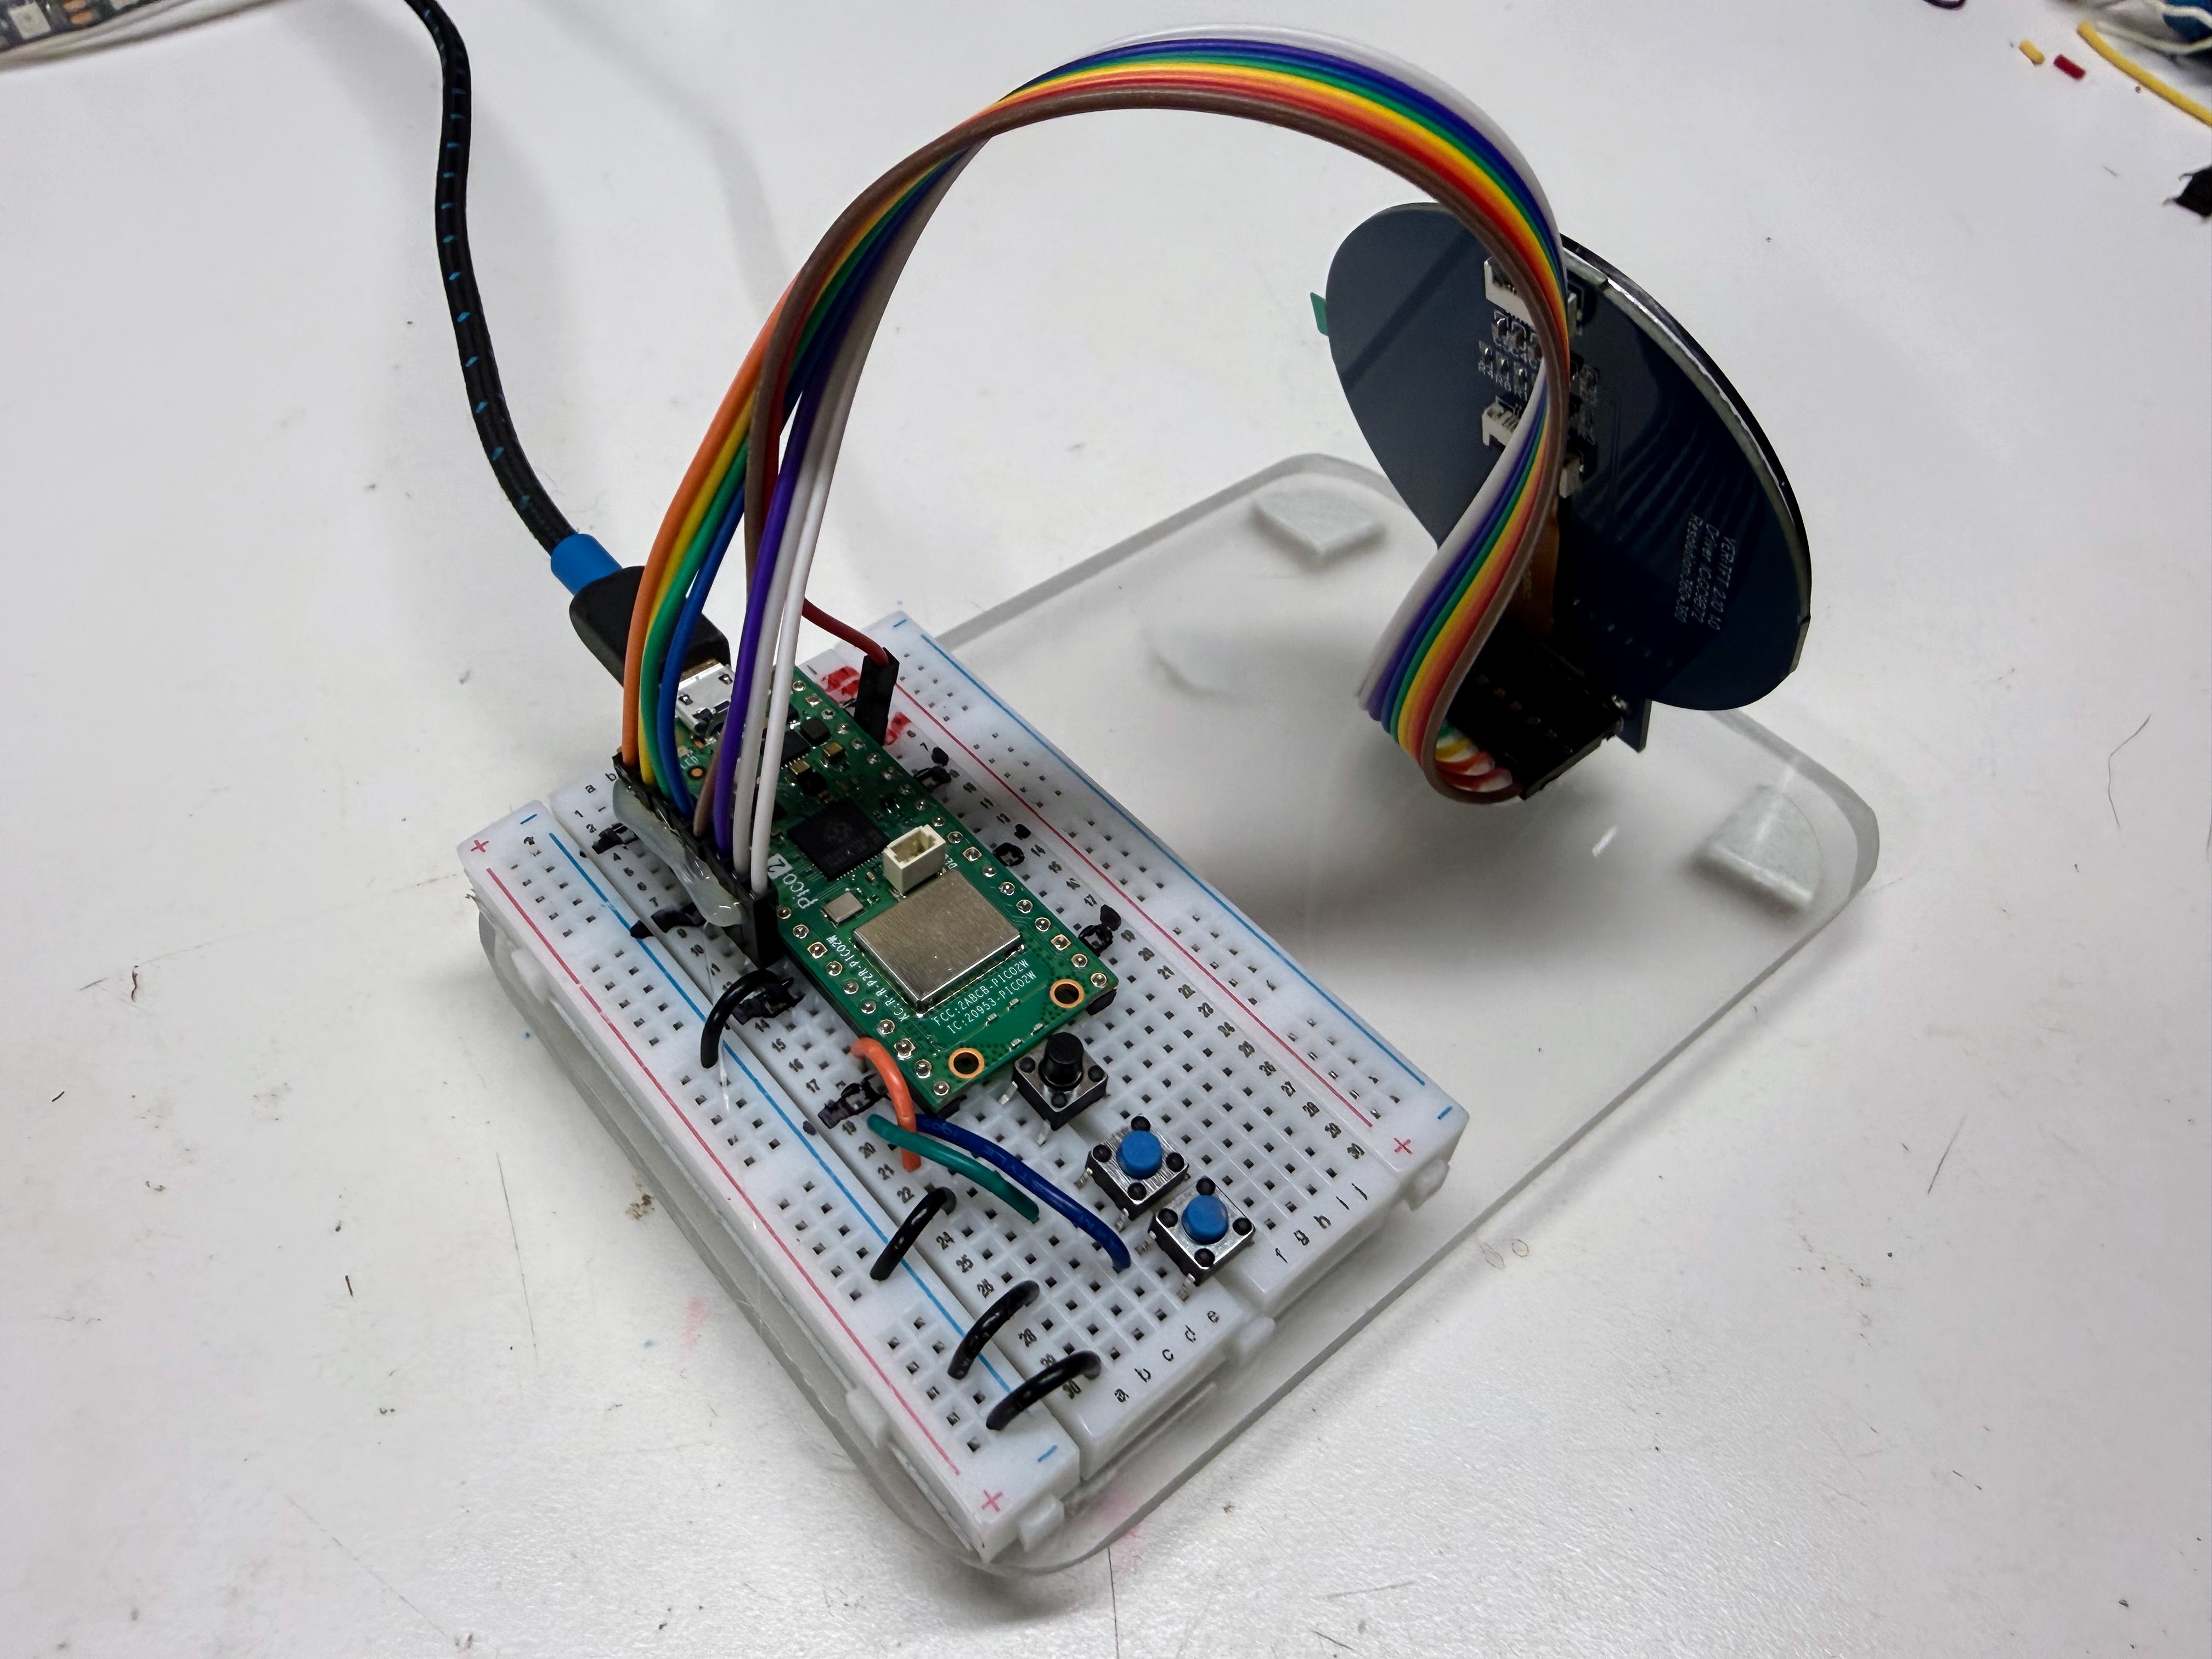
A rear view of the Smart Clock kit showing the breadboard, buttons and a 20cm Dupont cable with hot glue
to make it easy for the student to connect the display.
| Part | What it does |
|---|---|
| Raspberry Pi Pico W | The brain of the watch. It's a microcontroller, a tiny computer on a board about the size of a stick of gum. The W means it has WiFi, so it can talk to the internet. A Pico 2 W works too. |
| Round color display | The watch face. It is 2.1 inches across and has 360 × 360 tiny dots of light called pixels. A chip on the back called the GC9B72 turns the Pico's messages into pictures. |
| Three push buttons | How you control the watch. They are called MODE, UP, and DOWN. |
| Breadboard and wires | Connect everything without soldering. |
| USB cable | Gives the Pico power, and lets your computer send it programs. |
How It Is Wired
The display has a row of 10 connection points along its bottom edge. Reading from left to right, they are labeled: GND VCC SCL SDA RST DC CS BL SDO TE. Only the first eight are used. Each one connects to a numbered pin on the Pico, like this:
| Display pin | Pico pin | Wire color | What it carries |
|---|---|---|---|
| GND | GND | black | Ground, the "minus" side of the power |
| VCC | 3V3 | red | Power, 3.3 volts |
| SCL | GP2 | orange | The clock beat that keeps the Pico and display in step |
| SDA | GP3 | yellow | The data: the actual colors of the pixels |
| RST | GP4 | green | Reset: tells the display to start fresh |
| DC | GP5 | blue | Says whether the next data is a command or a picture |
| CS | GP6 | purple | "Hey display, I'm talking to you!" |
| BL | GP7 | gray | The backlight that makes the screen glow |
The two unused pins: SDO and TE
The last two pins on the row, SDO and TE, stay unconnected.
- SDO (serial data out) sends information from the display back to the Pico. The watch only ever sends pictures to the display, so it never needs this wire.
- TE (tearing effect) pulses each time the display finishes drawing a frame. It helps very fast animations avoid a visible "tear" line across the screen. The watch labs are not fast enough to need it.
The BL wire is worth a note too. On this display the backlight seems to glow whenever the board has power, whether or not the Pico drives GP7. So don't be surprised if the screen lights up before your program runs. The BL wire is still connected, so a lab can turn the backlight on and off itself if the board supports it.
Use 3V3, not 5 volts
 The display's VCC wire must go to the Pico's 3V3 pin. The display
is built for 3.3 volts, and 5 volts can damage it. Just a few pins
away are VSYS and VBUS, which carry about 5 volts from the USB
cable, so double-check the label before you plug in.
The display's VCC wire must go to the Pico's 3V3 pin. The display
is built for 3.3 volts, and 5 volts can damage it. Just a few pins
away are VSYS and VBUS, which carry about 5 volts from the USB
cable, so double-check the label before you plug in.
Each button has two legs. One leg goes to a Pico pin, and the other goes to GND:
| Button | Pico pin | What it usually does |
|---|---|---|
| MODE | GP13 | Changes what the watch is doing |
| UP | GP14 | Makes a number go up, or starts something |
| DOWN | GP15 | Makes a number go down, or resets something |
Before You Start
You only need to do these steps once.
- Put MicroPython on the Pico. MicroPython is the version of the Python language that runs on small boards like the Pico. Be sure to use the version that matches your board, for the Pico W or the Pico 2 W. The versions for the plain Pico and Pico 2 have no WiFi.
- Install Thonny. Thonny is the program you will use to write code and send it to the Pico.
- Copy the kit's files onto the Pico. The labs need some helper files
that live in a folder called
libon the Pico, and a settings file calledconfig.py. Your teacher may have done this for you. If not, the kit folder has a script calledupload-code.shthat copies everything at once. - Tell the watch about your WiFi. Copy the file
secrets-template.pyto a new file calledsecrets.py, and type in your WiFi network's name and password. Labs 04, 05, 09, and 12 use it. (secrets.pyis kept private: it never gets shared online.) - Tell the watch your time zone. Open
config.pyand findTIMEZONE_HOURS. Use -5 for Eastern time, -6 for Central, -7 for Mountain, or -8 for Pacific.
The Labs
Click a picture to open that lab.
| Lab | What you will do | |
|---|---|---|
| 00 | 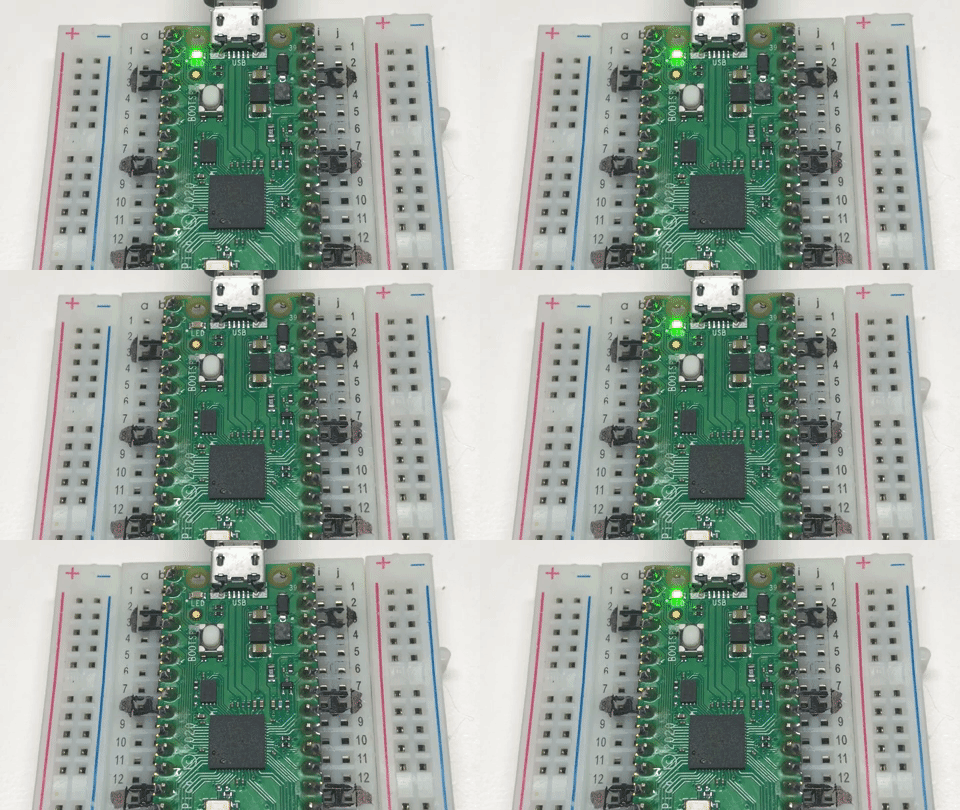 |
Make a tiny light on the Pico blink, to check that everything works |
| 01 | 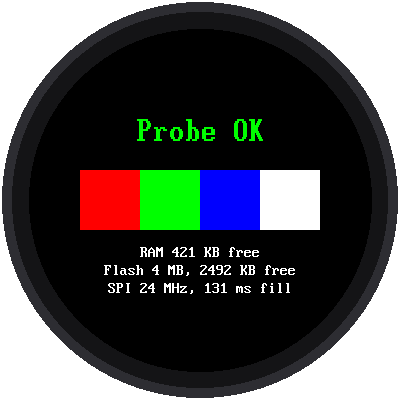 |
Give the whole kit a checkup, like a doctor's visit |
| 02 | 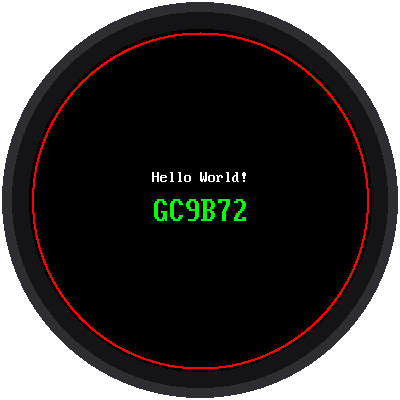 |
Say hello on the round screen |
| 03 | 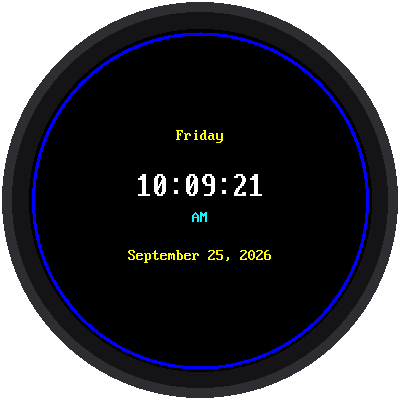 |
Show the time, day, and date |
| 04 | 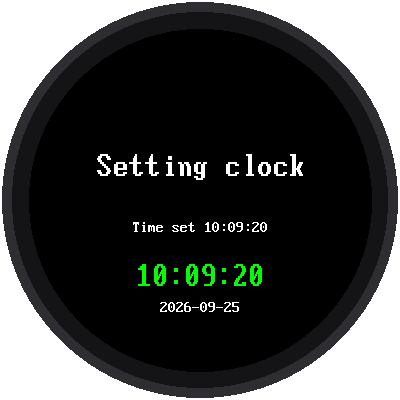 |
Ask the internet what time it is |
| 05 | 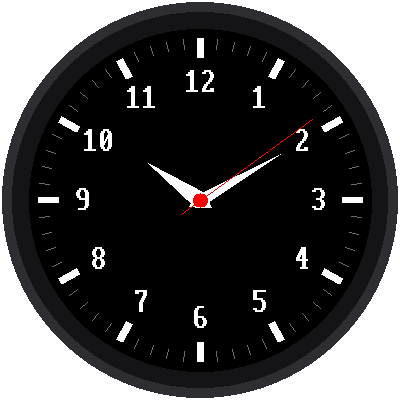 |
Build a clock face with moving hands |
| 06 | 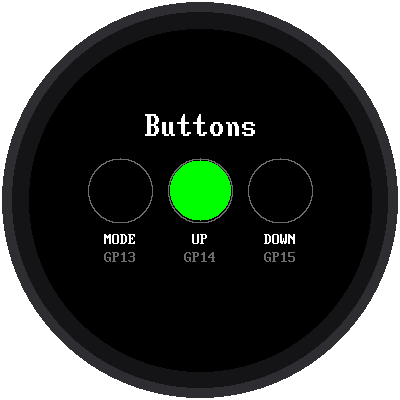 |
Test the three buttons |
| 07 | 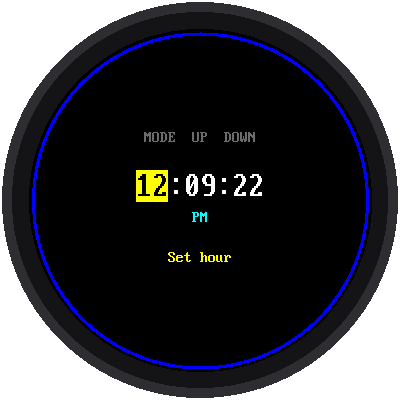 |
Set the time with the buttons |
| 08 | 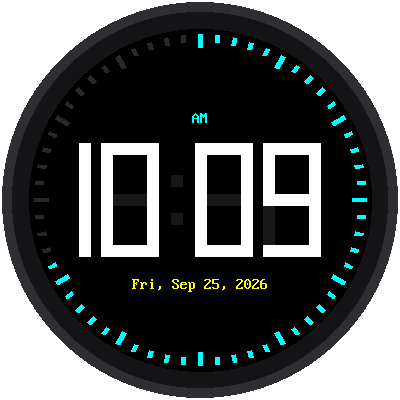 |
Build a digital watch with giant numbers |
| 09 | 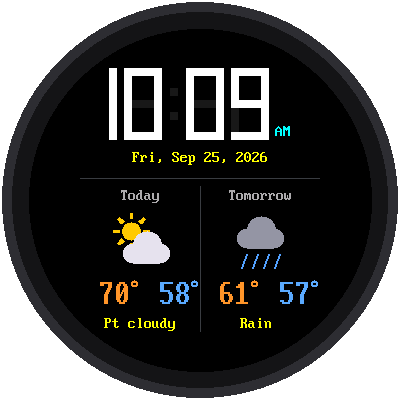 |
Add the weather forecast |
| 10 | 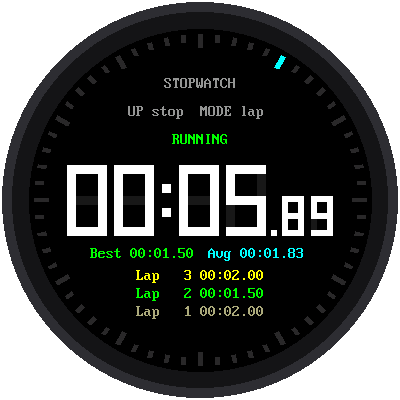 |
Make a stopwatch that times laps |
| 11 | 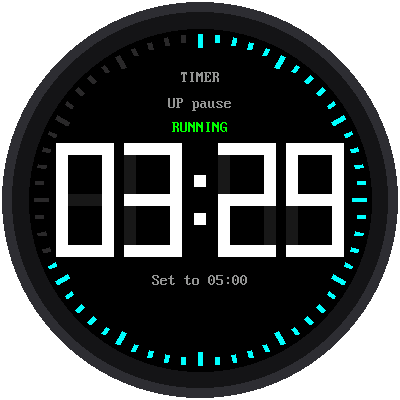 |
Make a countdown timer with an alarm |
| 12 | 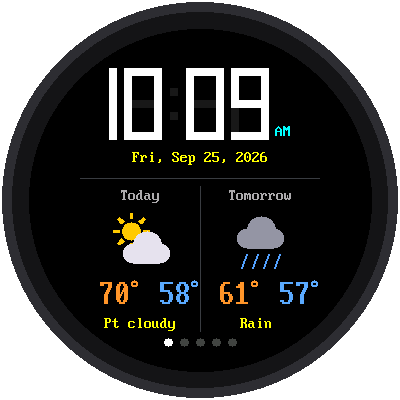 |
Put it all together into one watch with five modes |
Which program is running?
 Every lab prints its name and version number in Thonny's shell when it
starts, like
Every lab prints its name and version number in Thonny's shell when it
starts, like 05-analog-watch-face.py v1.0. If the screen isn't doing
what you expect, check that line first. It tells you which program the
Pico is actually running.
Words to Know
| Word | What it means |
|---|---|
| Pixel | One tiny dot of light on the screen. This screen has 360 × 360 = 129,600 of them. |
| Microcontroller | A small computer built to control one thing, like a watch, a toy, or a microwave. |
| Program | A list of instructions for a computer, written in a language like Python. |
| Loop | Part of a program that repeats over and over. A watch's program runs in a loop forever. |
| Variable | A name that holds a value, like second = 42. |
| Function | A named set of instructions you can use again and again, like draw_hand(). |
| Module | A file of Python code that other programs can borrow from with import. |
| WiFi | A way for devices to connect to the internet without wires. |
For Teachers
The Notes for Teachers page has the technical details: where the display driver came from, how fast the hardware really is, how each watch face avoids flicker, and a troubleshooting table. The screen pictures in these pages were made by running each lab's real code in a simulator of the display.