Wireless STEM Robot
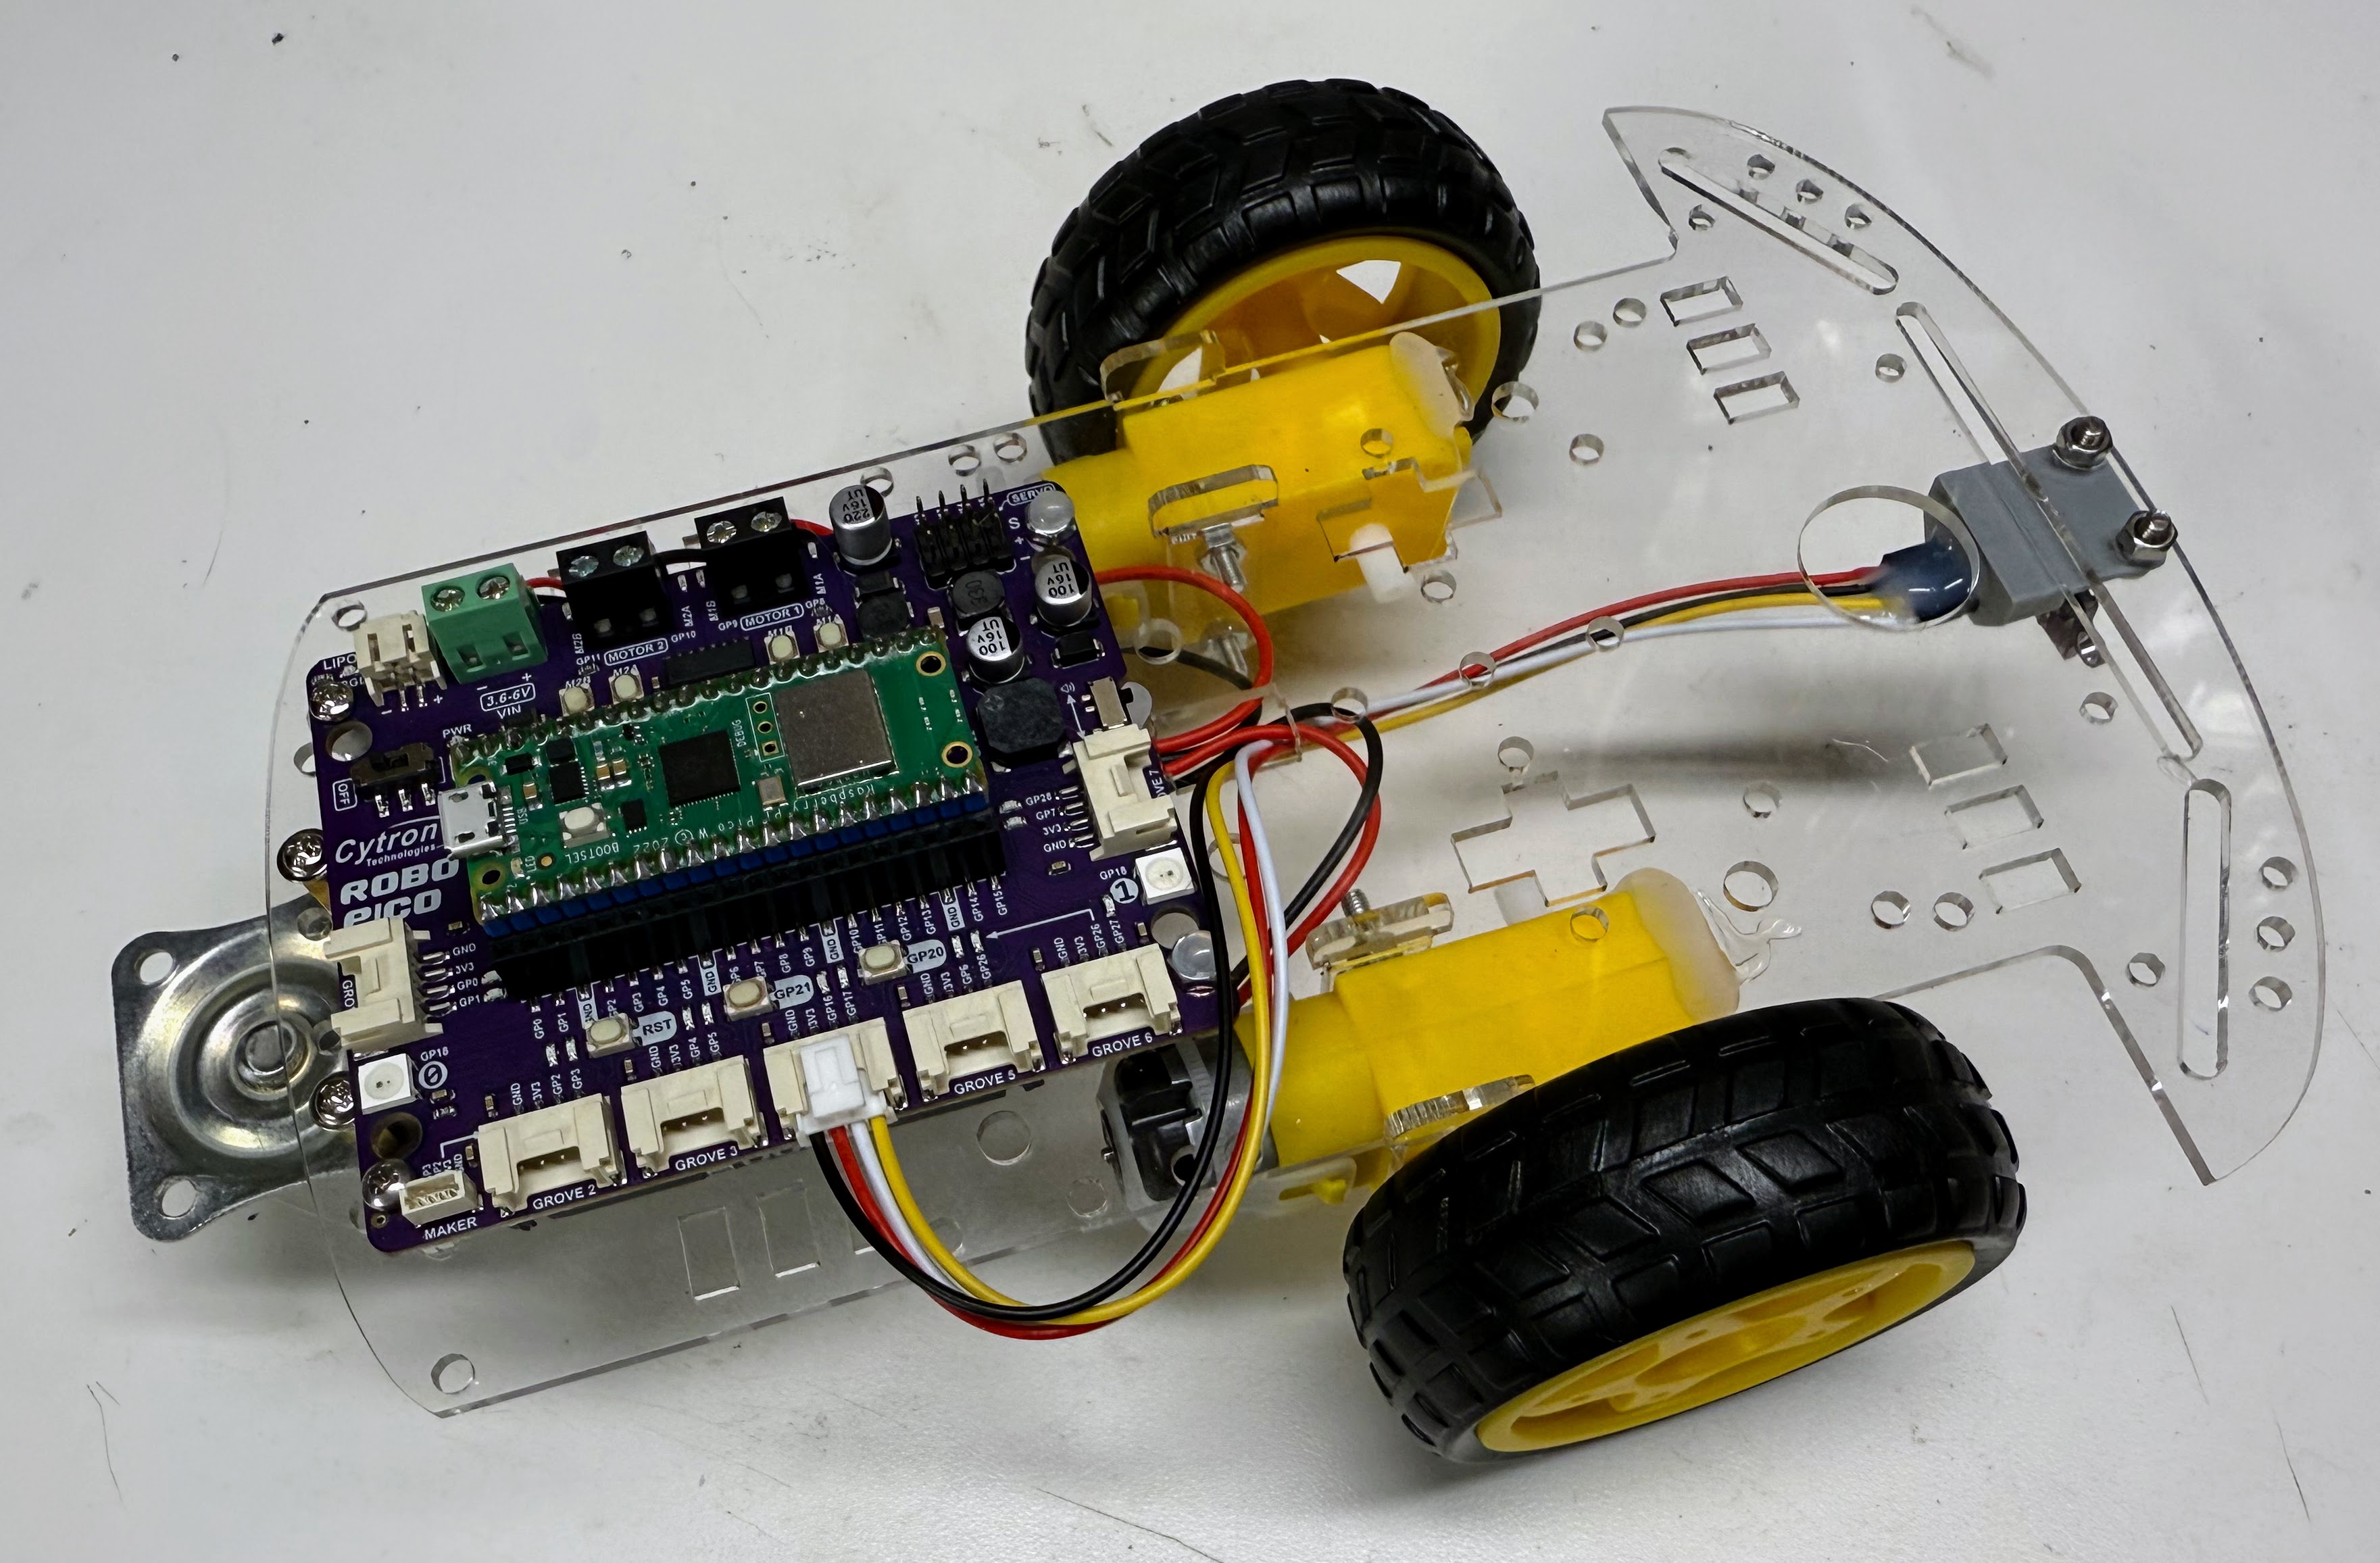
This robot uses the Cytron Robo Pico board that allows us to use a Raspberry Pi Pico W board as our microcontroller. The "W" has builtin WiFi and Bluetooth hardware so we can control our robot wirelessly.
Cytron Robo Pico Pinout
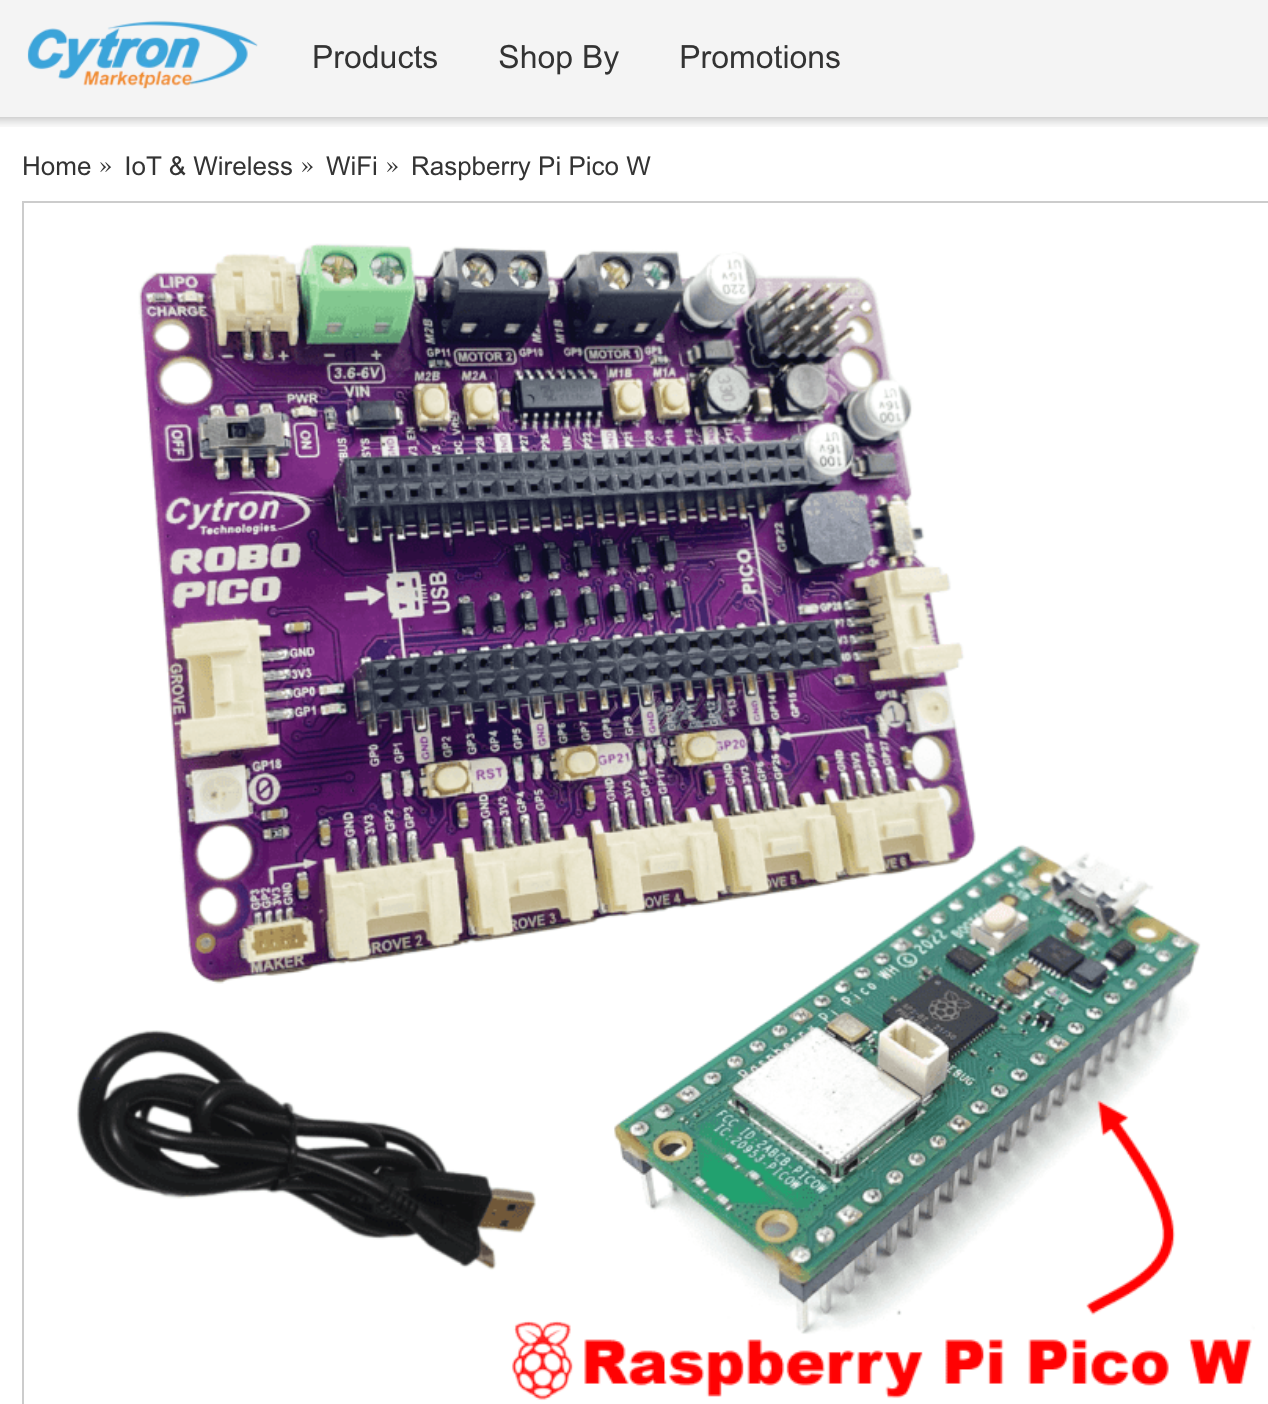
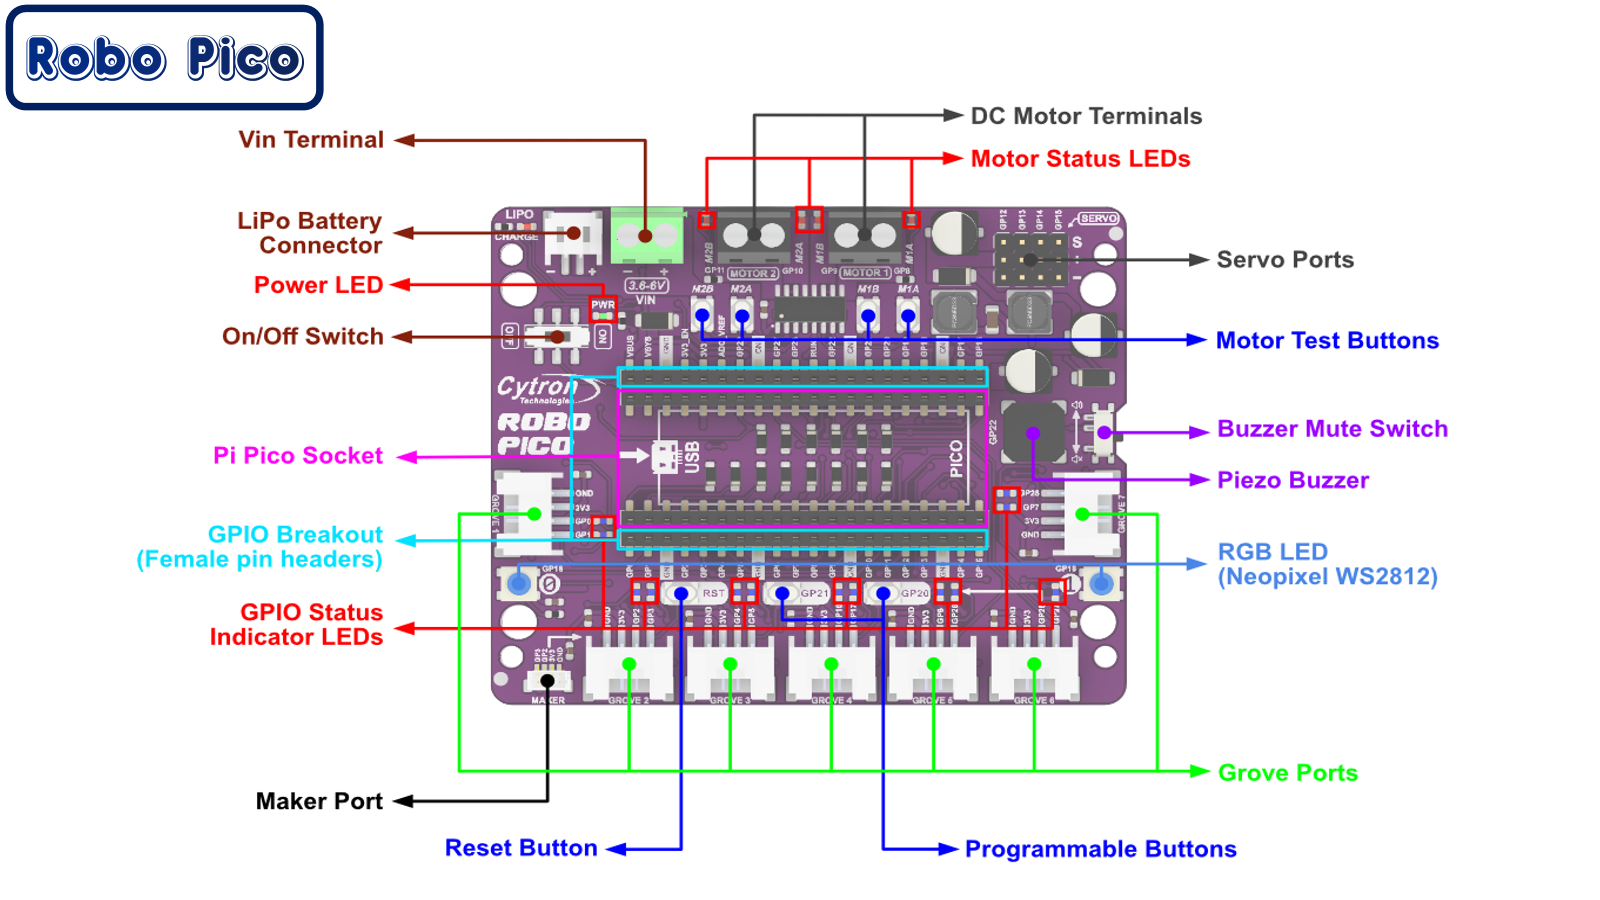
Note that the GPIO breakout female header allows us to connect our display cable directly to the board without using Grove connectors!
Source Code
We can use the base robot source code as
a starting point for our wireless robot. This kit's own source, including the
web-server labs below and a shared config.py, lives in
src/kits/wi-fi-bot/.
Uploading the Code
To copy the whole kit — config.py, secrets.py, and every script — onto
the Pico W in one step, run
upload-code.sh
from a terminal:
1 | |
This also uploads secrets.py as-is, so edit it with your own SSID and
password first (see the Secrets File section below). Any single script can
also be run directly from Thonny, or headlessly with:
1 | |
(Your port name may differ — check what shows up when you plug in the Pico.)
MicroPython Wireless Functions
When you stop/restart Thonny you MUST make sure you have loaded the Pico "W" version of software.
1 | |
Raspbeery Pi Pico MicroPython Wireless Functions
Secrets File
Our WiFi connection stores the local wireless network name and password in a file called secrets.py. It has the following format:
1 2 | |
Note that you should take steps to make sure the secrets.py file is not checked into public GitHub repositories.
The best way to do this is to add the following line to your .gitignore file:
1 | |
This will work even though the file is at any level of the GitHub repository.
Testing Your Secrets File
Once you have your secrets.py file configured you can test it with a simple "ping test" program
1 2 3 4 5 6 7 8 9 10 11 12 13 14 15 16 17 18 19 | |
Here is the Thonny console log when that prgram is running.
1 2 3 4 5 | |
To test this you must open your Terminal application (or PowerShell on Windows) and run the ping command:
1 | |
Sample result:
1 2 3 4 5 6 7 | |
Note that your IP address might be different. In this mode, ping will usually have three timeouts and then respond in about three seconds. This is slow because the Raspberry Pi Pico is in a power saving mode by default. It takes time to load the networking code into the WiFi chip. We will fix this in the next labs.
Ping Test Slow
In this lab we connect to WiFi with the default power-saving mode still enabled, so you can see the multi-second delay for yourself before we fix it.
Ping Test Fast
In this lab we disable WiFi power management so the robot responds in milliseconds instead of seconds — the setting we'll want for real-time robot control.