MicroPython FaceBot
Welcome to the FaceBot Lab
 Robots are much more fun when they have faces! In this lab you will draw simple emoji-style faces on the OLED display on the front of your robot. You can even give your robot different expressions depending on what it is doing. Let's build something amazing!
What Is the FaceBot?
The FaceBot is a robot that displays cartoon faces on a small OLED screen mounted at the front. OLED stands for Organic Light-Emitting Diode — it is a tiny, bright display that works great on robots. The faces change to show the robot's "mood" or current state:
- Happy face — when the robot is driving normally
- Surprised face — when it detects an obstacle
- Sleeping face — when the robot is idle
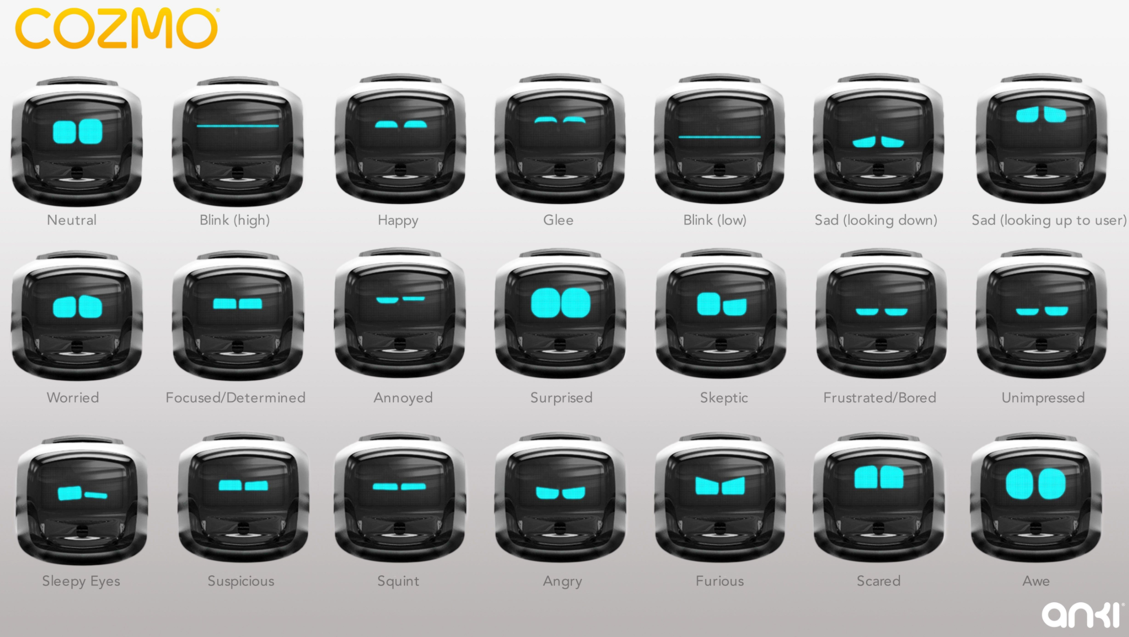
We are inspired by the expressive faces on robots like Cozmo:
What You Need
| Part | Purpose |
|---|---|
| Maker Pi RP2040 robot | The base robot with motors and controller |
| 128×64 OLED display (I2C) | Shows the face — connect to the Grove I2C port |
ssd1306.py driver |
Library for drawing on the OLED |
Make sure the ssd1306.py driver file is saved on your Pico before you run any code. You can find it in the src/drivers/ folder of this project.
Setting Up the OLED Display
Connect the OLED display to the I2C Grove port on the Maker Pi RP2040. I2C (Inter-Integrated Circuit) is a way to connect devices using just two wires.
Wire the OLED display using these steps:
- Connect the OLED GND pin to any GND pin on the board.
- Connect the OLED VCC pin to the 3.3 V pin on the board.
- Connect the OLED SDA pin to GP0 (the I2C data pin).
- Connect the OLED SCL pin to GP1 (the I2C clock pin).
| OLED Pin | Maker Pi RP2040 |
|---|---|
| GND | GND |
| VCC | 3.3 V |
| SDA | GP0 (I2C SDA) |
| SCL | GP1 (I2C SCL) |
Key Idea

oled.fill(0) sets every pixel to black (off). oled.pixel(x, y, 1) turns one pixel white (on). oled.show() sends the whole drawing to the screen at once — nothing appears until you call show().
Drawing a Happy Face
The OLED screen is 128 pixels wide and 64 pixels tall. You draw faces using circles, lines, and filled rectangles. Pixels are the tiny dots that make up the screen. Each pixel can be on (white) or off (black).
1 2 3 4 5 6 7 8 9 10 11 12 13 14 15 16 17 18 19 20 21 22 23 24 25 26 27 28 29 30 31 32 33 34 35 36 | |
What each line does
I2C(0, scl=Pin(1), sda=Pin(0), freq=400000)— sets up the I2C bus on pins 0 and 1 at 400 kHzSSD1306_I2C(128, 64, i2c)— creates the display object for a 128×64 OLEDoled.fill(0)— clears the screen (all pixels off)oled.pixel(x, y, 1)— turns on one pixel at position (x, y)oled.fill_rect(x, y, w, h, 1)— draws a filled rectangleoled.show()— sends the drawing to the screen
Drawing a Surprised Face
1 2 3 4 5 6 7 8 9 10 11 12 13 14 15 16 17 18 19 20 | |
What each line does
oled.rect(x, y, w, h, 1)— draws an empty rectangle outline (not filled)oled.ellipse(cx, cy, rx, ry, 1)— draws an oval centered at (cx, cy)
Drawing a Sleeping Face
1 2 3 4 5 6 7 8 9 10 11 12 13 14 15 16 17 18 19 20 | |
What each line does
oled.hline(x, y, length, 1)— draws a horizontal line starting at (x, y)
Monty's Tip
 Try adding a winking face by drawing only the right eye closed. You can also use
 oled.text("HI!", 48, 28, 1) to add a speech bubble word on the screen!
Animating the Faces
Connect the face functions to your motor code. The robot changes expression based on what it is doing:
1 2 3 4 5 6 7 8 9 10 11 12 13 14 15 16 17 18 | |
What each line does
show_sleeping_face()— calls the function that draws the sleeping facetime.sleep(2)— pauses the program for 2 seconds before doing the next step- Replace the
# ... code goes here ...comments with your actual motor commands
You Can Do This!
 Drawing faces with individual pixels takes a bit of patience. If your face looks wrong at first, change the x and y coordinates a little at a time. That is exactly how game artists work!
Great Work!
 Your robot can now show emotions! Try combining the FaceBot code with the collision avoidance robot so the face automatically changes when the robot spots an obstacle.