Using MicroPython to Control Motors and Servos
Welcome to Motor Control!
 Motors are one of the most exciting things you can control with MicroPython! You will make wheels spin, arms move, and robots drive around.
Controlling motors is one of the most exciting ways to learn how to program. When you write code to spin a motor, you can immediately see and feel it working. Motors are used in almost every robot project. Robots are used in STEM courses and coding clubs all around the world. Programs like the AI Racing League let students learn about Machine Learning, Computer Vision, and Artificial Intelligence (AI). All of these programs depend on knowing how motors work and how to control them.
Motor Types
There are three types of motors you will learn how to control:
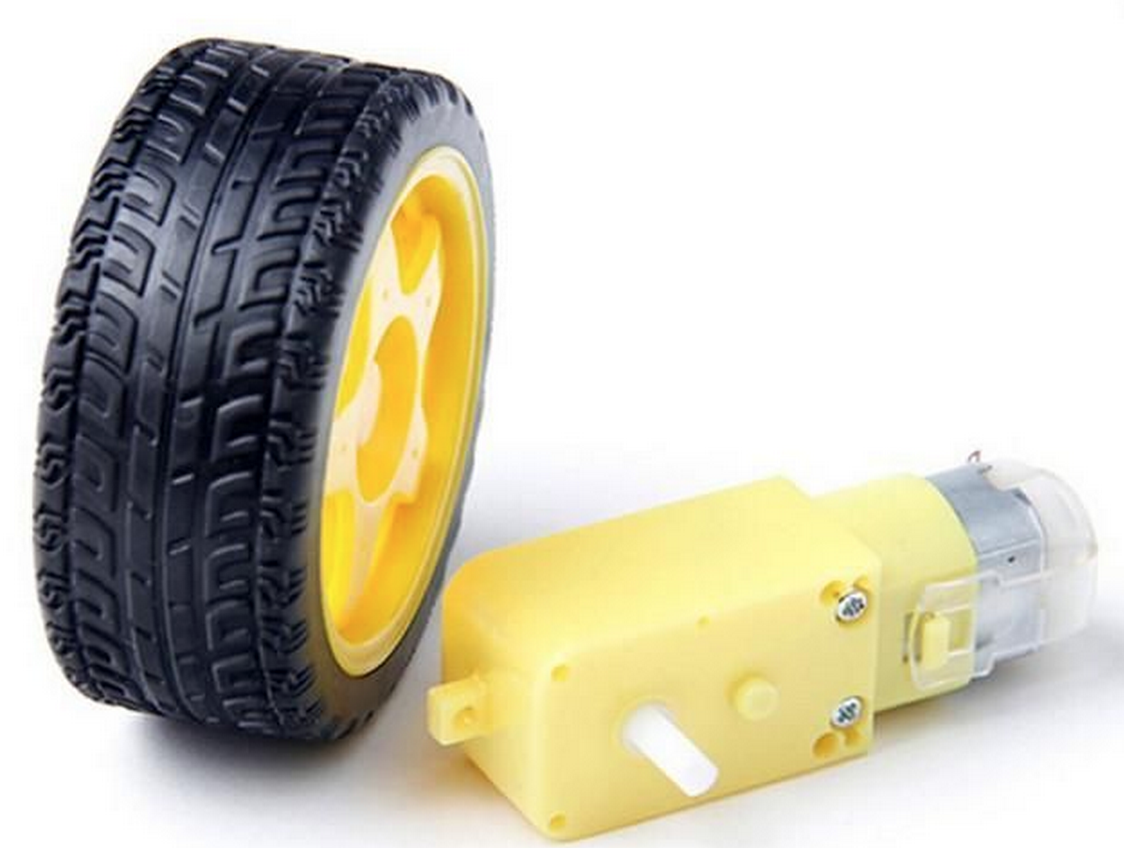
- DC Motors — These spin in one direction or both. They are cheap and easy to find.
- Servos — These rotate to a specific angle. Robots use them for arms, steering, and camera mounts.
- Stepper Motors — These move in tiny, exact steps. 3D printers use them to move the print head precisely.
Key Idea
 Each motor type has a different job. DC motors are great for wheels. Servos are great for arms. Stepper motors are great when you need to move something to an exact position.
Outline of Labs
Lab 1: Using a Transistor to Control a Motor
In this lab you will use MicroPython to turn a motor on and off. You will use a digital output pin on the Raspberry Pi Pico to control a transistor. A transistor is an electronic switch that can carry much more current than the Pico's pin alone. You will also learn how to use a diode — a tiny component that lets current flow in only one direction — to protect the transistor from damage.
Theory: What Is an H-Bridge Circuit?
This section explains a sample circuit with four switches arranged in the shape of the letter "H." The motor sits at the center of the H. By closing switches in opposite corners, you can make the motor spin forward or backward.
Lab 2: Controlling Motor Speed with the L293D H-Bridge Chip
In this lab you will use a Pulse-Width Modulation (PWM) signal to control how fast a motor spins. PWM turns the motor on and off very quickly. The faster it turns on, the faster the motor spins.
Lab 3: Changing Motor Direction
In this lab you will make a motor spin forward and backward. You will also change its speed.
You Are Ready to Begin!
 You now know what to expect in this chapter. Head to Lab 1 to start wiring your first motor circuit!