Ten Bar LED Display
Welcome to the 10-Bar LED Lab
 Ten LEDs in a row can show a level — like a battery meter or a signal strength bar. You will learn to control each LED with a Python list. Let's build something amazing!
Goals for the Lesson
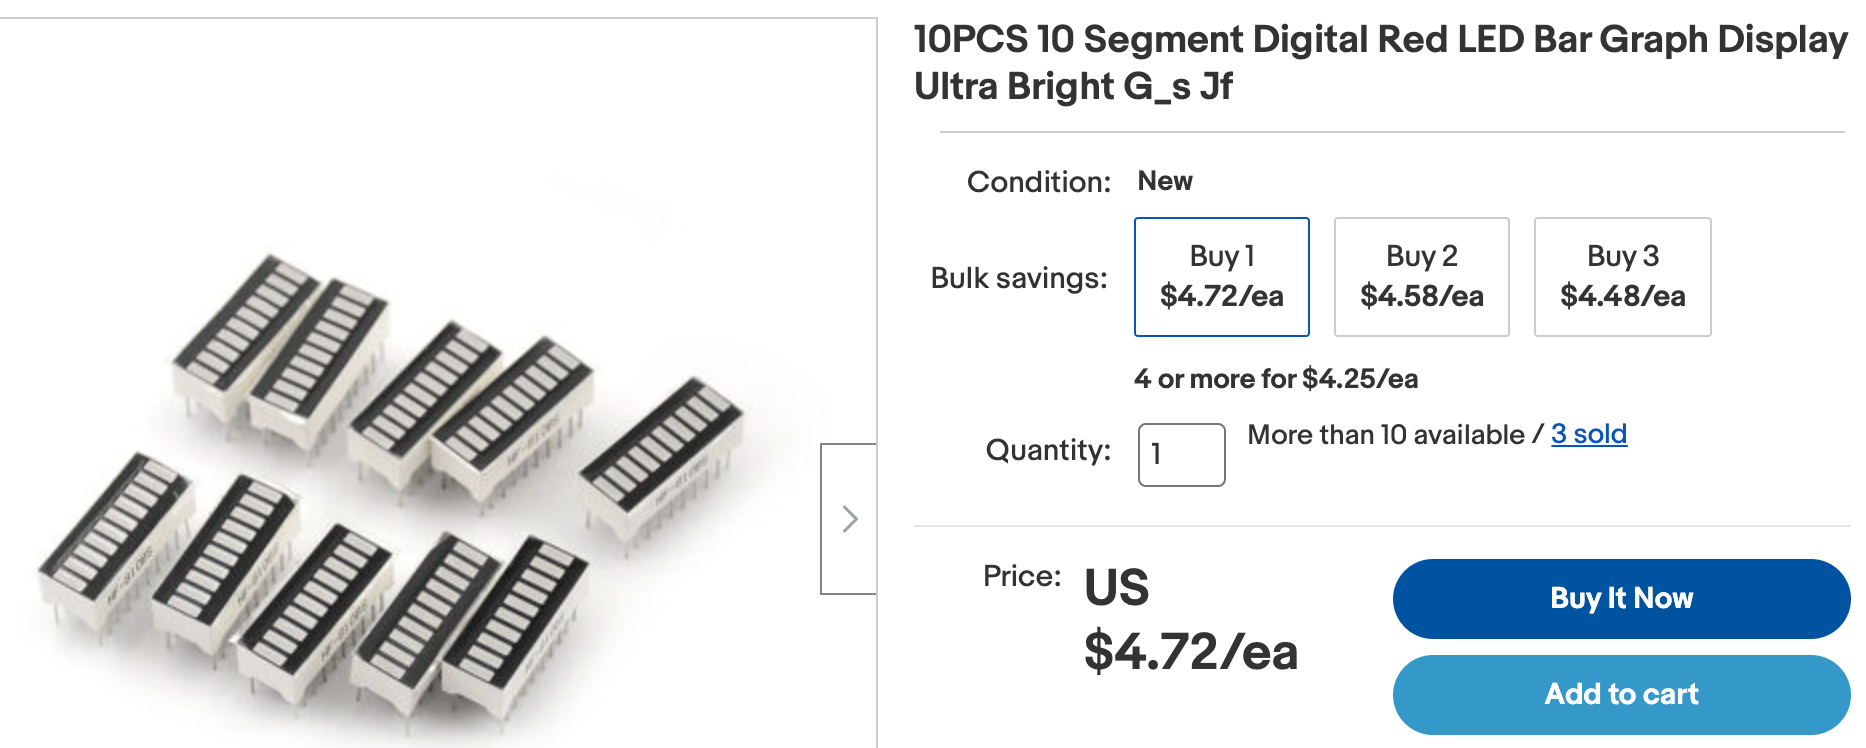
You can buy 10-segment LED bar displays for about 40 cents each. They are perfect for showing a reading such as battery charge or signal strength.
Your goal is to learn how to use Python lists to turn a row of 10 Light-Emitting Diodes (LEDs) on and off. A list is a way to store many values in one place. You will store all 10 General-Purpose Input/Output (GPIO) pin numbers in one list.
Circuit
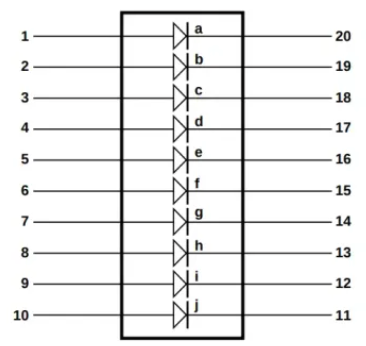
The LED bar comes in a dual-in-line package. Each LED has two pins — one on each side of the package.
In the circuit below, the positive side (called the anode) of each LED connects to a GPIO pin. The negative side (called the cathode) connects through a 330-ohm resistor to the GND rail on the breadboard.
Watch Out!
 You must use a current-limiting resistor with every LED. Without a resistor, too much current flows through the LED and it burns out. Use a 330-ohm resistor for each LED.
One end of each LED bar connects to a GPIO pin. The other end connects to the GND rail through a resistor.
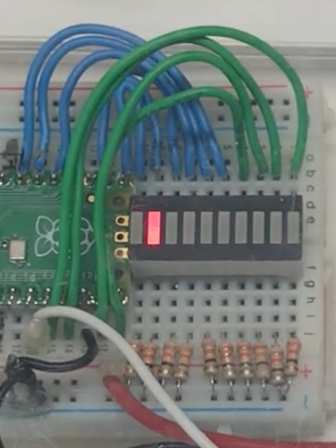
Wiring Steps
- Place the 10-segment LED bar in the center of your breadboard.
- Connect one 330-ohm resistor from each LED's cathode (negative) pin to the GND rail.
- Connect the GND rail to any GND pin on the Pico.
- Connect the anode (positive) pin of each LED to the GPIO pins listed below:
| LED number | GPIO pin |
|---|---|
| LED 1 | GP12 |
| LED 2 | GP13 |
| LED 3 | GP14 |
| LED 4 | GP15 |
| LED 5 | GP20 |
| LED 6 | GP19 |
| LED 7 | GP18 |
| LED 8 | GP17 |
| LED 9 | GP16 |
Programming
You will create a list that holds each GPIO pin number. Then you will loop over the list and set up each pin as an output.
1 2 | |
Here is the full setup code that creates a Pin object for each number in the list:
1 2 3 4 5 6 7 8 9 10 11 | |
What Each Line Does
| Line | Purpose |
|---|---|
pin_ids = [12, 13, ...] |
Stores all 9 GPIO pin numbers in one list |
pins = [] |
Creates an empty list to hold the Pin objects |
for pin_number in pin_ids: |
Loops through each number in pin_ids |
Pin(pin_number, Pin.OUT) |
Creates a Pin object set as an output |
pins.append(...) |
Adds the new Pin object to the pins list |
You will use this setup code at the top of every example in this lab.
Key Idea
 A Python list lets you store many values together. Instead of writing
 led1 = Pin(12), led2 = Pin(13), and so on, you store all the pin numbers in one list and loop over it. Less code, same result!
Code to Blink All 9 LEDs
This program turns all LEDs on, waits, turns them all off, and repeats.
1 2 3 4 5 6 7 8 9 10 11 12 13 14 15 16 17 18 19 20 21 22 23 24 | |
What Each Line Does
| Line | Purpose |
|---|---|
for pin in pins: |
Loops through every Pin object in the list |
pin.on() |
Turns one LED on |
pin.off() |
Turns one LED off |
sleep(delay) |
Waits 0.5 seconds before the next step |
Sample Running Lights Example
The "running lights" pattern makes it look like a light is moving along the bar. You turn one LED on, wait a moment, then turn it off before moving to the next one.
1 2 3 4 5 6 7 8 9 10 11 12 13 14 15 16 17 18 19 20 21 22 23 24 25 26 | |
What Each Line Does
| Line | Purpose |
|---|---|
range(0, 9) |
Counts from 0 to 8 — one index for each LED |
range(8, 1, -1) |
Counts backward from 8 to 2 to reverse direction |
pins[i].on() |
Turns on the LED at position i |
pins[i].off() |
Turns off the LED at position i |
Monty's Tip
 Try changing
 delay = 0.1 to a smaller number like 0.05 to make the light move faster. Changing one variable controls the whole animation!
Swipe Pattern
The swipe pattern turns each LED on and keeps it on until the whole bar is lit. Then it sweeps back and turns each LED off.
Try writing this yourself! Use the running lights code as a starting point. The key difference is that you do not turn off each LED before moving to the next one.
Adding a Binary Counter Pattern
You can also create a pattern that shows binary counting. In binary, the rightmost LED flickers on and off fastest. Each LED to the left changes half as often as the one to its right. The leftmost LED changes only once for every 256 flickers of the rightmost LED.
This is a fun challenge to try after you finish the running lights example.
Great Work!
 You can now control a row of 10 LEDs using a Python list and a loop. Next, try the Level Meter lab to drive the bar graph with a real sensor reading!