Four Digit LED Display
Welcome to the 4-Digit Display Lab
 In this lab, you will build a working clock using a 4-digit LED display! You will learn how to read the time and show it with a flashing colon. Let's build something amazing!
What Is a 4-Digit LED Display?
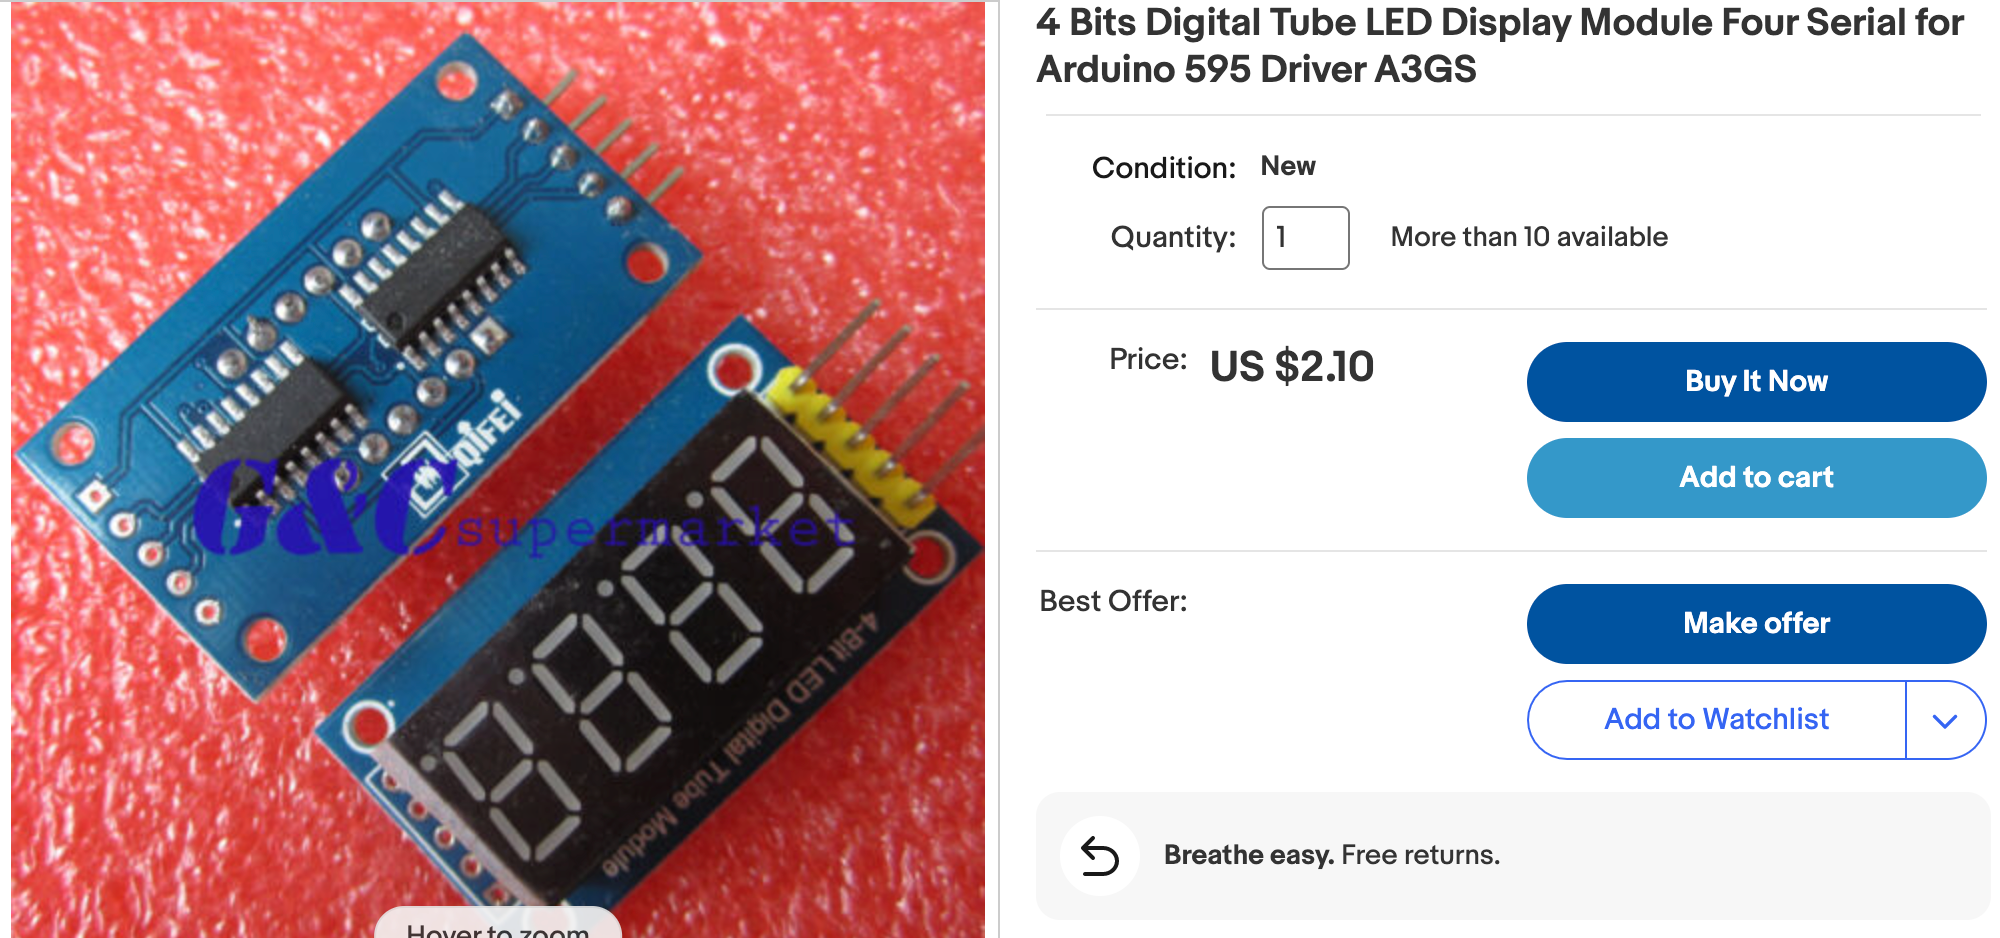
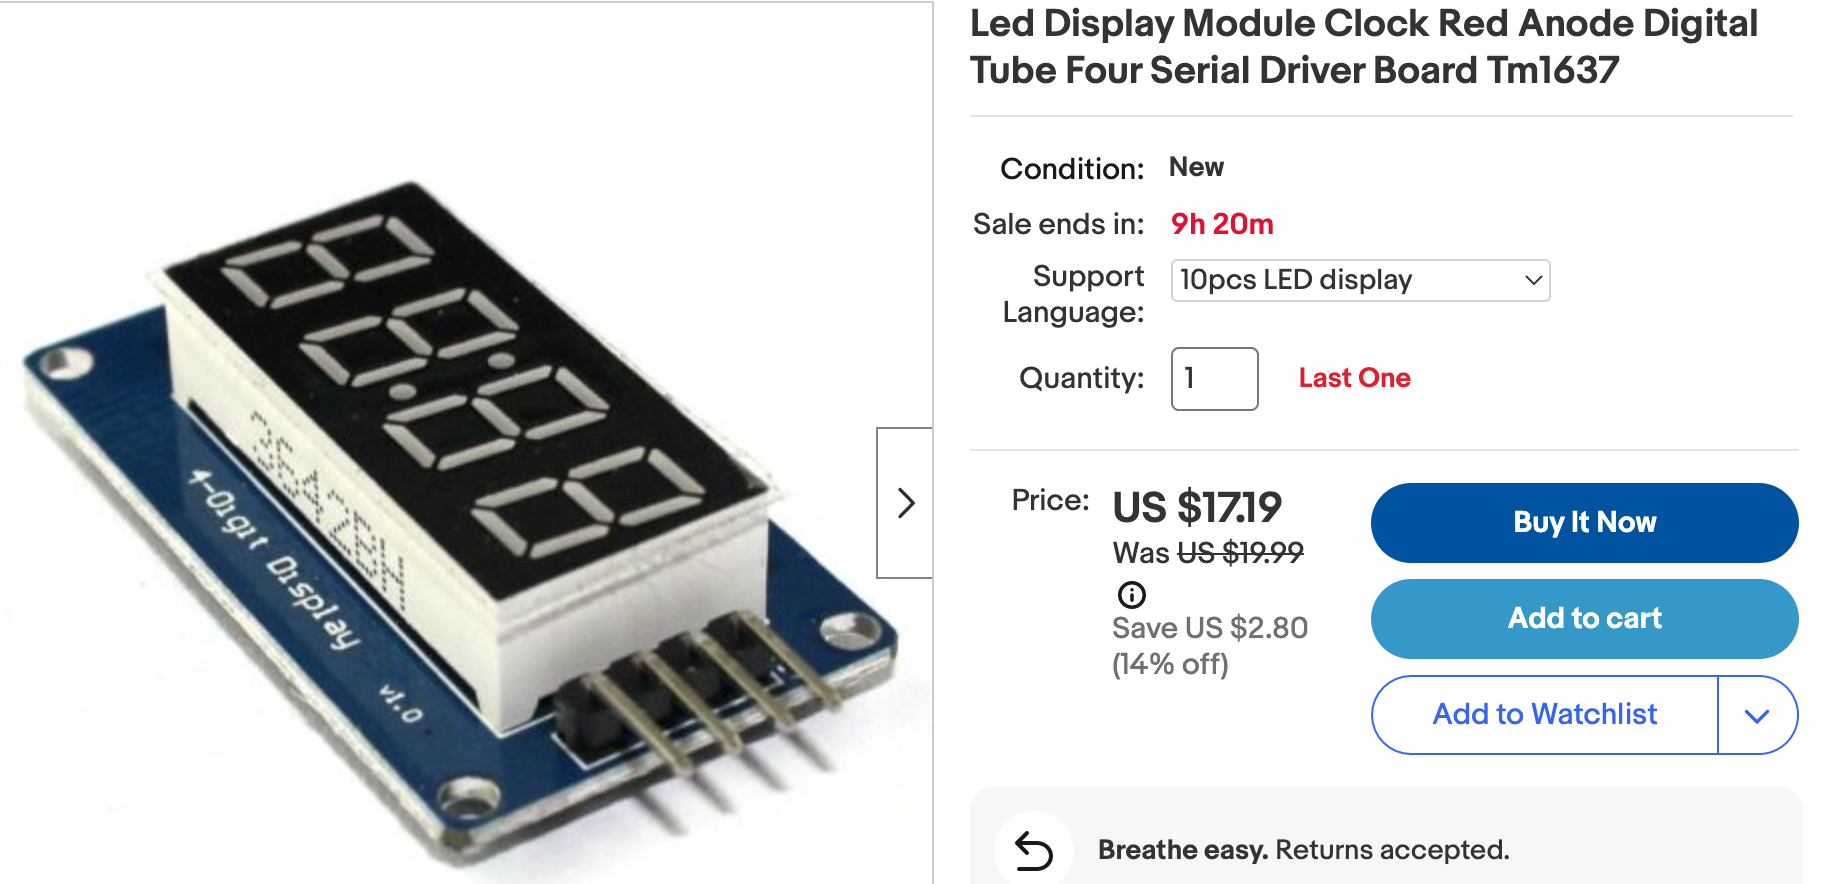
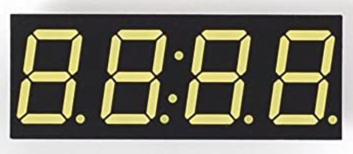
A 4-digit LED display is a row of four 7-segment digit displays. Each digit is made of seven LED segments that light up in different combinations to show numbers from 0 to 9. Many of these displays also have a colon (:) between the second and third digits — perfect for showing hours and minutes on a clock.
You can buy these displays for about $2 each.
These displays use the TM1637 chip to communicate with the Pico. You will use Mike Causer's tm1637 library to talk to the chip. Download this file and copy it to your Pico before running the examples below.
Connections
The display has four pins:
- GND — ground (negative)
- VCC — power (3.3 V or 5 V)
- DIO — data signal (connects to a GPIO pin)
- CLK — clock signal (connects to a GPIO pin)
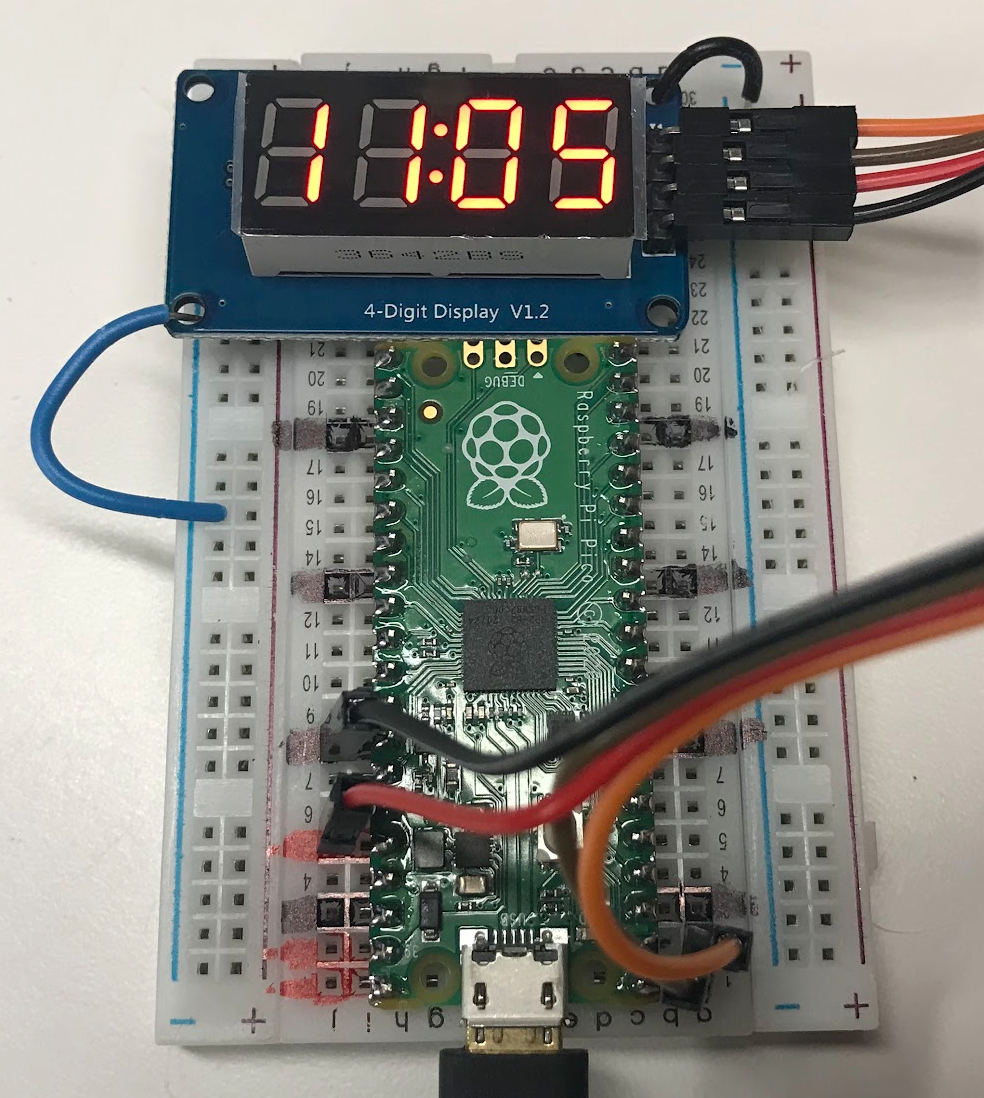
Wiring Steps
- Connect GND on the display to any GND pin on the Pico.
- Connect VCC on the display to the 3.3 V pin on the Pico.
- Connect DIO on the display to GP0 on the Pico.
- Connect CLK on the display to GP1 on the Pico.
Quick Start: Show a Number
This example writes the number 1234 to the display.
1 2 3 4 5 6 7 8 9 10 11 12 13 | |
What Each Line Does
| Line | Purpose |
|---|---|
import tm1637 |
Loads the TM1637 driver library |
tm1637.TM1637(clk=Pin(CLK_PIN), dio=Pin(DIO_PIN)) |
Creates the display object using GP0 and GP1 |
tm.write([1, 2, 3, 4]) |
Sends the digits 1, 2, 3, 4 to the display |
The tm.write() function takes a list of numbers and shifts them in from right to left.
Key Idea
 The TM1637 chip handles all the hard work. You just tell it which digits to show and it figures out which LED segments to light up. The
 tm.numbers() function makes showing hours and minutes even easier!
Clock
You can build a simple clock using the localtime() function. It reads the current time from the Pico's internal clock. Call it once when the program starts, then count the seconds yourself with sleep().
localtime() returns a list of numbers. The numbers at positions 3, 4, and 5 hold the hour, minute, and second.
1 2 3 4 5 6 7 8 9 10 11 12 13 14 15 16 17 18 19 20 21 22 23 24 25 26 27 28 29 30 31 32 33 34 35 36 | |
What Each Line Does
| Line | Purpose |
|---|---|
localtime() |
Returns a list of numbers describing the current date and time |
now[3] |
Gets the hour (position 3 in the localtime list) |
now[4] |
Gets the minute (position 4) |
now[5] |
Gets the second (position 5) |
tm.numbers(hour, minute, colon=True) |
Shows the hour and minute with the colon lit |
sleep(0.5) |
Waits half a second — the colon flashes once per second |
sec = sec + 1 |
Counts up one second each loop |
Watch Out!
 The Pico's internal clock resets every time you unplug the power. The time shown will be wrong after a restart unless you set the clock or use a Pico W to fetch the time from the internet.
Accurate Clock
This version reads the real time from the system once every minute. That keeps the display more accurate over time.
1 2 3 4 5 6 7 8 9 10 11 12 13 14 15 16 17 18 19 20 21 22 23 24 25 26 27 28 29 30 31 32 33 34 35 36 37 38 39 | |
What Each Line Does
| Line | Purpose |
|---|---|
def update_time(): |
Defines a function that reads the real clock |
global hour, minute, sec |
Allows the function to change these variables outside itself |
if sec == 60: update_time() |
Refreshes the time from the real clock each minute |
Monty's Tip
 Try using a Pico W and a Wi-Fi connection to fetch the correct time from the internet. Search for "MicroPython NTP" (Network Time Protocol) to learn how!
References
Great Work!
 You built a working clock with a flashing colon! Next, try the Character LCD lab to display full sentences on a 16×2 text screen.