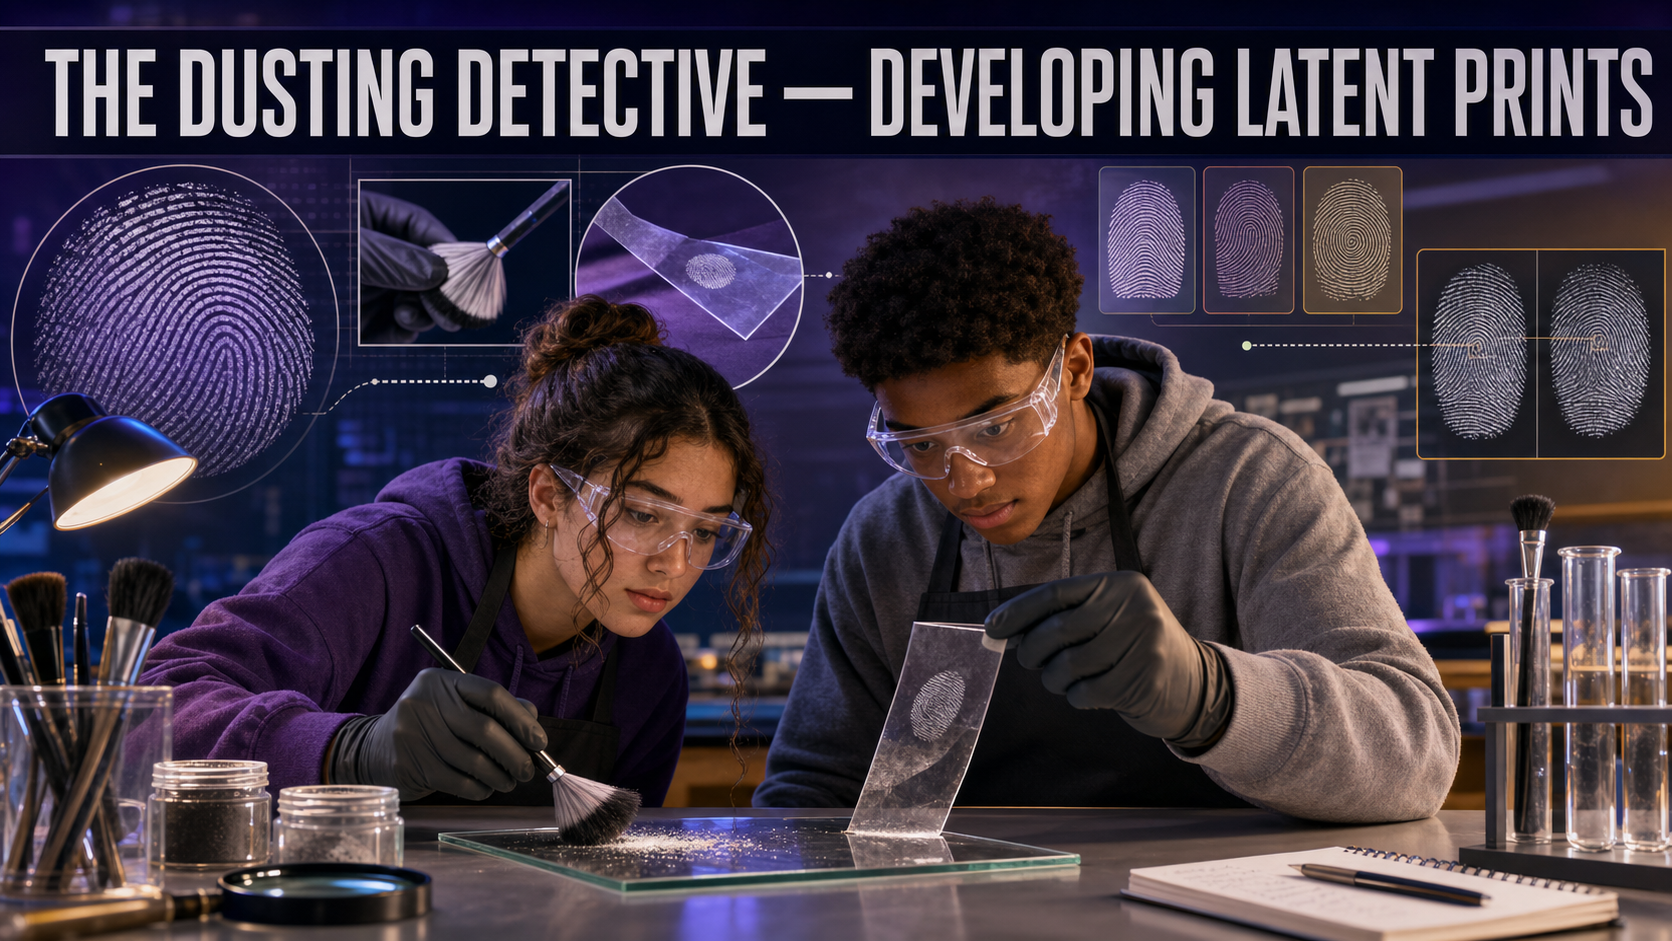
The Dusting Detective — Developing Latent Prints
Welcome, Investigators!

Somebody touched this note — and left behind a signature they didn't even know they were writing. Every finger you own is coated in oil and sweat, and every surface you press remembers the ridges. Today you'll make the invisible visible. Follow the evidence!
The Case
A typed ransom note was slipped under the principal's door demanding the return of the school's stolen mascot costume. The note itself is typed, so the words give nothing away — but whoever handled it left latent prints on the glossy paper, on the plastic sleeve it arrived in, and on the drinking glass found beside the drop point. Three staff members had access to the office that morning:
- Suspect A — the substitute teacher who "just needed a pen."
- Suspect B — the custodian who emptied the office trash.
- Suspect C — the student aide who delivers the morning attendance sheet.
Each suspect has already given a set of inked exemplar prints. Your job: develop the latent prints from the evidence, lift them cleanly, and match the ridge patterns to exactly one suspect — using the prints, not the alibis.
Learning Objectives
By the end of this investigation you will be able to:
- Develop latent fingerprints on both porous (paper) and non-porous (glass, plastic) substrates using dusting powder.
- Lift a developed print with tape and mount it on a contrasting card without smudging the ridge detail.
- Classify a fingerprint by its pattern type (loop, whorl, or arch).
- Match a developed latent print to an exemplar using pattern type and minutiae points.
Quick Facts
| Lab type | 🧪 Physical bench lab |
| Group size | 2–3 investigators |
| Time | 45–55 minutes |
| Cost | ≈ $22 per group (consumables) |
| Ties to | Ch 3 — Latent Fingerprints, Fingerprint Substrates, Cyanoacrylate Fuming, Minutiae Points, Loops / Whorls / Arches |
Materials
Per group (≈ $22):
- Cocoa powder or cornstarch or a jar of black fingerprint powder
- 1 fine, soft cosmetic brush (a fiberglass/feather brush if available)
- Clear packing tape
- White and black index cards (choose the color that contrasts your powder)
- 1 clean drinking glass (non-porous)
- 1 zip-top plastic bag (non-porous, flexible)
- 1 strip of glossy paper (the "ransom note")
- 1 ink pad + white paper to roll suspect exemplars
- Hand magnifier or loupe
- Shared: one classroom compound microscope for close ridge comparison; the teacher's cyanoacrylate (super-glue) fuming setup for the demo station
Safety & Fair-Test Rules

- Cyanoacrylate (super-glue) fuming is a teacher demonstration only. The fumes are irritating — watch from a distance in a ventilated area. Never run the fuming jar yourselves.
- Wear goggles at the fuming demo. Wash hands after handling powder; a dust mask helps if you are sensitive to fine powder.
- Handle evidence by the edges. Your own fingers are now a contamination source — the whole point of this lab is that skin leaves prints.
- Use a light touch with the brush. Too much powder buries the ridges you are trying to reveal.
Background: The Print You Can't See
A latent print is the invisible mark left when the ridges on your fingertip transfer a thin film of sweat and skin oil onto a surface. "Latent" literally means hidden — unlike a patent print (left in ink, blood, or paint that you can already see) or a plastic print (pressed into something soft like putty), a latent print has to be developed before anyone can study it.
How you develop it depends on the substrate — the surface the print sits on. On non-porous surfaces like glass and plastic, the oily residue stays on top, so fine dusting powder sticks to it and reveals the ridges. On porous surfaces like paper, the sweat soaks in, so labs often reach for chemical methods (ninhydrin, which turns amino acids purple) or, for plastics and other tricky surfaces, cyanoacrylate fuming — super-glue vapor that hardens into a white crust along the ridges. Whatever the method, the goal is the same: turn an invisible mark into a pattern you can classify and compare.
Every fingerprint falls into one of three broad pattern types — loops, whorls, and arches — and within each pattern are tiny features called minutiae: places where a ridge ends or splits in two (a bifurcation). Those minutiae, in their exact arrangement, are what make a match. Meet the patterns before you pick up the brush.
Explore: Fingerprint Pattern Explorer
Fingerprint Pattern Explorer Interactive MicroSim
Type: microsim
sim-id: fingerprint-pattern-explorer
Library: p5.js
Status: Specified
Learning Objective: Classify a fingerprint by its pattern type — loop, whorl, or arch (Bloom Level 2 — Understand).
Cycle through the three pattern types and notice the landmarks: the delta (a triangle where ridges meet) and the core (the center of the pattern). A loop has one delta, a whorl has two, and a plain arch has none. Keep these in mind — you'll name the pattern on every print you lift.
Now see how the powder itself does its work. The next simulator lets you develop a print on different substrates without wasting a single brush stroke.
Explore: Latent Print Development
Latent Print Development Interactive MicroSim
Type: microsim
sim-id: latent-print-development
Library: p5.js
Status: Specified
Learning Objective: Select an appropriate development method for a given fingerprint substrate (Bloom Level 3 — Apply).
Try developing a print on glass, on plastic, and on paper. Watch how the amount of powder changes the result — too little and the ridges stay faint, too much and they smear into a black blob. That sweet spot is exactly what your brush is hunting for at the bench.
Procedure
Part 1 — Plant the latent prints (the "handling").
- Everyone washes and dries their hands, then rubs a fingertip against the side of their nose or forehead to pick up a little natural skin oil.
- One team member is the secret Handler. Out of the analysts' sight, the Handler presses one finger firmly onto the glass, the plastic bag, and the glossy paper. Set each item down without touching the print area again.
- Roll an inked exemplar print for all three suspects onto white paper and label them A, B, and C. These are your knowns.
Part 2 — Develop and lift.
- Dip the brush, tap off the excess, and lightly swirl powder over the glass until ridges appear. Less is more — build up slowly.
- Press a strip of clear tape over the developed print, smooth it down, peel it up in one motion, and stick it to a contrasting card (black powder → white card; cocoa/cornstarch → black card). Label it "GLASS."
- Repeat on the plastic bag. Label the lift "PLASTIC."
- For the porous glossy paper, dust gently (paper holds powder poorly) or observe the teacher's cyanoacrylate fuming demo reveal the print. Record what you see and label it "PAPER."
Part 3 — Compare.
- Examine each lifted latent under a magnifier, then the microscope.
- Classify each latent's pattern type (loop, whorl, or arch).
- Line up each latent against exemplars A, B, and C. Find at least two matching minutiae (ridge endings or bifurcations in the same relative position) before you call a match.
Data Collection
Fill in one row per developed print.
| Evidence item | Substrate (porous / non-porous) | Development method | Pattern type | Matches suspect (A/B/C)? | Minutiae in agreement |
|---|---|---|---|---|---|
| Glass | |||||
| Plastic bag | |||||
| Paper (note) |
Analysis Questions
- Which suspect handled the ransom note? Cite the pattern type and at least two minutiae that support your match.
- Which substrate gave the clearest developed print, and why does surface type (porous vs. non-porous) explain that result?
- The paper print was the hardest to develop with powder. What method would a real lab use on porous paper, and why does it work when powder doesn't?
- Fingerprint identification depends on a human examiner's judgment. The 2009 NAS report and 2016 PCAST report both flagged error rates in latent comparison. Why is finding "two matching minutiae" not the same as proof?
- Where in your procedure could a stray print from an analyst have contaminated the evidence, and how did you guard against it?
Deliverable
Turn in a one-page Latent Print Report naming the suspect who handled the note, with your reasoning: the pattern type of each developed print and the matching minutiae you identified. Attach your three labeled lift cards and the three exemplar cards.
What Does the Data Tell Us?

A matching pattern type only narrows the field — roughly 60% of all prints are loops, so "it's a loop" alone excludes almost nobody. The real work is in the minutiae: their type and their exact arrangement. Careful examiners say "consistent with," never "a perfect match," because honest forensic language is what holds up in court.
Extension Challenge: Beat the Smudge
Latent prints degrade fast. Plant a fresh print and try to develop it after 10 minutes, 1 hour, and 1 day. Does the print get harder to raise as the oils dry and spread? Photograph each attempt, then write a short protocol recommending how quickly latent evidence should be processed at a scene.
Teacher Notes
Setup, timing, and grading (click to expand)
- Prep: Cocoa powder on a black card (or cornstarch on black) is a forgiving, low-cost substitute for commercial black powder. Pre-cut tape strips speed up the lift step. Have hands-washing built into Part 1 so prints are clean skin oil, not lunch grease.
- Cyanoacrylate demo: Run the super-glue fuming yourself in a covered jar or fuming chamber in a ventilated area. A few drops of super glue plus a warm-water cup accelerates the fumes. Keep students back; it is a watch, not a do.
- Differentiation: For a quicker version, develop on glass only. For a challenge, add a fourth "decoy" exemplar with a pattern similar to the true handler's to force careful minutiae work.
- Assessment focus: Reward light-touch powdering, clean lifts, correct pattern classification, and — most of all — students who cite specific minutiae and use cautious language ("consistent with") over "it's a match."
Case Closed — For Now

You just pulled a hidden signature off a pane of glass and named the person who left it. Sir Francis Galton showed in 1892 that no two prints are alike; you just proved you can read one. Nicely dusted, investigators. Follow the evidence!