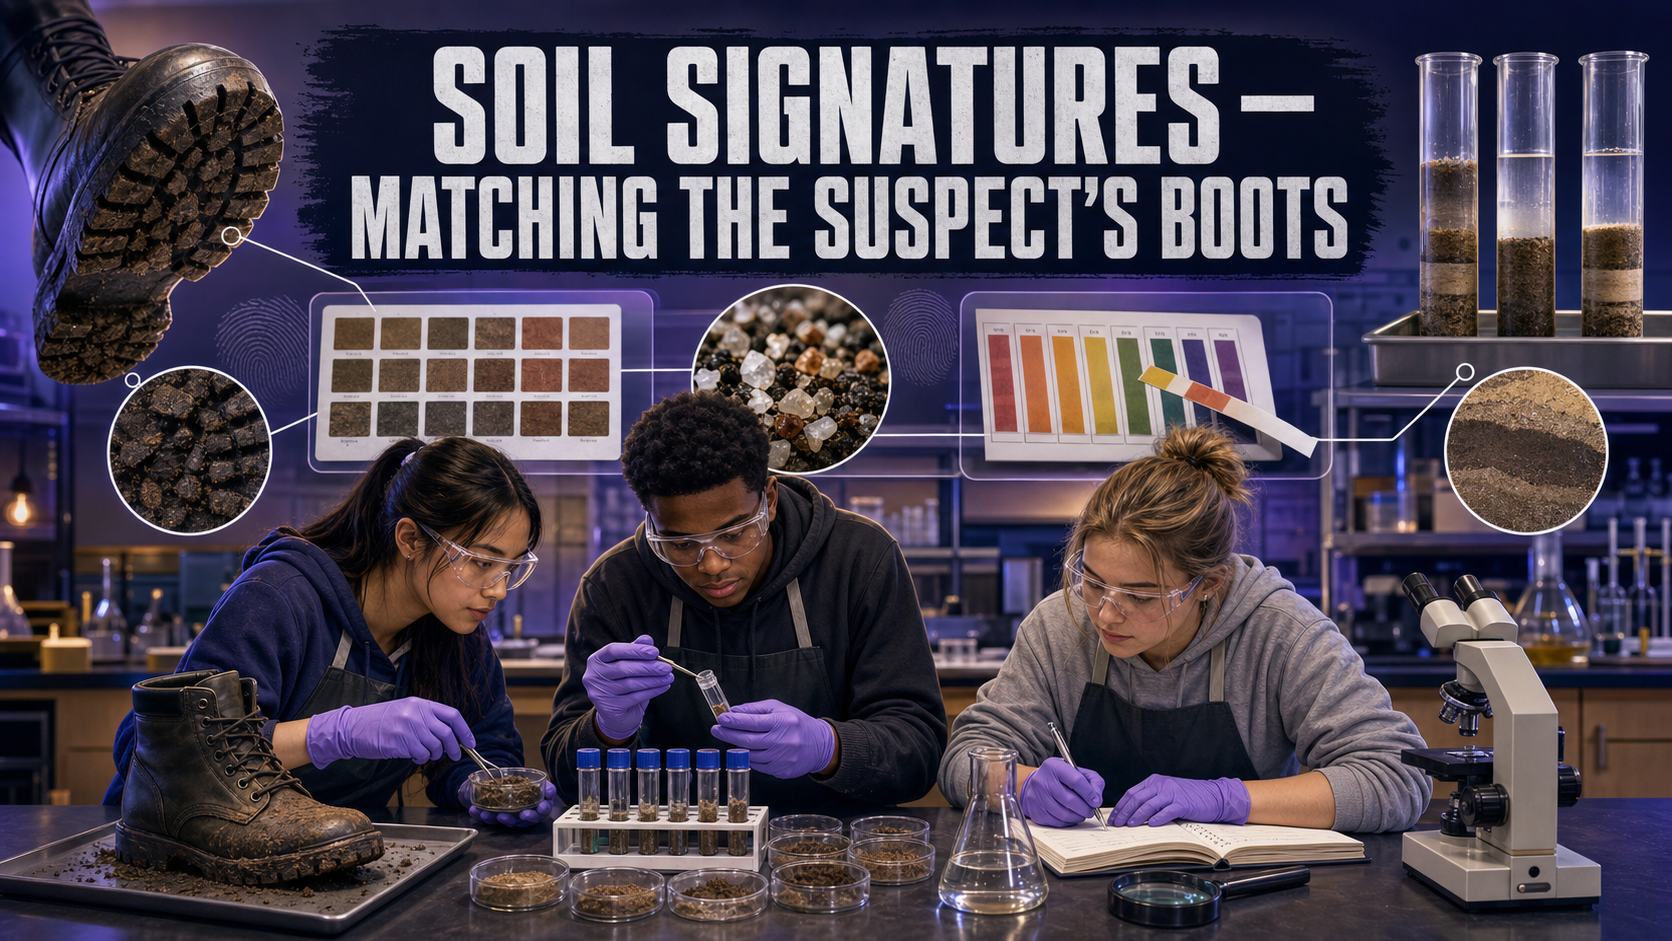
Soil Signatures — Matching the Suspect's Boots
Welcome, Investigators!

A suspect swears they've never been near the crime scene — but the dirt caked on their boots didn't get the memo. Soil is a mix of color, chemistry, and tiny minerals that changes from place to place, which makes a boot scrape a surprisingly loud witness. Time to make mud talk. Follow the evidence!
The Case
A hiker was robbed at a trailhead, and the thief fled across open ground. When detectives brought in Priya Nandi for questioning, they scraped a small sample of dried soil from the tread of her boots. Priya says she was only ever in her own backyard.
Investigators collected reference soil from three locations connected to the case:
- Site 1 — the Trailhead (where the robbery happened).
- Site 2 — the Riverbank (a possible escape route).
- Site 3 — the Suspect's Backyard (Priya's alibi).
Your job: characterize the boot soil (the unknown) and each site's soil, then decide which location the boot sample came from — using evidence, not the alibi.
Learning Objectives
By the end of this investigation you will be able to:
- Measure soil color, pH, and particle-size layering using standard bench techniques.
- Organize soil observations into a comparable property profile for each sample.
- Compare an unknown soil to several knowns across multiple properties.
- Justify an association between the unknown and one source location using the combined evidence.
Quick Facts
| Lab type | 🧪 Physical bench lab |
| Group size | 2–4 investigators |
| Time | 50–60 minutes (plus settling time) |
| Cost | ≈ $18 per group (consumables) |
| Ties to | Ch 5 — Soil Composition, Soil pH, Particle Size Distribution, Sand Mineral Analysis |
Materials
Per group (≈ $18):
- 3 labeled site soil samples (Site 1, 2, 3) + 1 boot unknown (teacher-collected from four different spots)
- 4 tall clear jars with lids (for settling columns)
- Universal pH test strips + a small cup of distilled water
- White paper or a printed soil-color reference chart (Munsell-style)
- Hand lens or loupe (to spot mineral sparkle)
- Small sieve, tea strainer, or coffee filter
- Plastic spoons and labels
- Shared: a ruler to measure settled layers
Safety & Handling Rules

- Treat all soil as not clean. Wear gloves, keep it out of your mouth and eyes, and wash hands when you finish.
- Label every jar before you add soil. A mixed-up unknown is a ruined case — there's no way to un-mix a settling column.
- Cap jars tightly before shaking, and let them settle undisturbed. Bumping the bench re-suspends the layers you just measured.
Background: Every Place Has a Dirt Fingerprint
Soil is not just "dirt." It's a mixture of mineral grains, decayed organic matter, and water, and its exact blend depends on the local rock, plants, and climate. Two spots a mile apart can carry visibly different soil. Because of that, forensic geologists treat soil as class evidence that can associate a sample with a place — or exclude a place outright.
You'll profile each soil four ways. Color (compared against a standard chart in consistent light) reflects organic content and iron minerals. pH, read from a test strip in a soil-and-water slurry, reflects the underlying chemistry. Particle-size layering appears when you shake soil in water and let it settle: heavy sand drops first, then silt, then fine clay on top — the thickness of each band is a signature. And mineral sparkle under a hand lens reveals grains like quartz or mica that not every site contains.
No single property nails a match. The power comes from stacking several properties so that only one site agrees on all of them.
Explore: The Soil Analysis Dashboard
Soil Analysis Dashboard Interactive MicroSim
Type: microsim
sim-id: soil-analysis-dashboard
Library: p5.js
Status: Specified
Learning Objective: Log and compare soil samples across color, pH, and particle-size properties to associate an unknown with a source location (Bloom Level 4 — Analyze).
Enter each sample's color, pH, and layer thicknesses and watch the dashboard line up the profiles side by side. Use it to log your bench results and to see which site's bars best match the boot unknown.
Procedure
Part 1 — Color and sparkle.
- Spread a spoonful of each soil on white paper in the same light. Match each to the color chart and record the color name/code.
- Examine each soil with the hand lens. Note any sparkle (mica), glassy grains (quartz), or other distinctive particles.
Part 2 — pH.
- Make a slurry: mix a spoonful of soil with a little distilled water, stir, and wait one minute. Dip a pH strip, compare to the color key, and record the pH for each sample.
Part 3 — Particle-size settling column.
- Put an equal scoop of each soil into its own labeled jar, add water to two-thirds full, cap tightly, and shake for 20 seconds.
- Set the jars down and don't touch them. After they settle (5–10 minutes), measure the thickness of the sand, silt, and clay bands with a ruler.
- Enter every result into the
soil-analysis-dashboardand compare the boot unknown against the three sites.
Data Collection
| Property | Site 1 (Trailhead) | Site 2 (Riverbank) | Site 3 (Backyard) | Boot unknown |
|---|---|---|---|---|
| Color (chart match) | ||||
| Mineral sparkle seen | ||||
| pH | ||||
| Sand layer (mm) | ||||
| Silt layer (mm) | ||||
| Clay layer (mm) |
Analysis Questions
- Which site does the boot unknown most closely match? List at least three properties that agree between them.
- Give one property that lets you exclude a different site outright.
- Rank your four properties from most to least useful for telling the sites apart in this case. Why was your top property so informative?
- Soil is class evidence. Explain why a strong four-property match still can't prove the boot soil came from that exact spot and no other.
- Where could contamination or measurement error have crept into your profile, and how did you guard against it?
Deliverable
Turn in a one-page Soil Association Report naming the site the boot unknown matches, the properties that support it, at least one site you can exclude, and one honest sentence on what the soil evidence cannot establish. Attach your completed profile table.
Investigator Tip

Judge color in consistent light and always compare dry soil to dry soil — wet dirt looks darker and will fake a mismatch. Standardizing your conditions before you compare is the difference between a real match and an artifact of the lighting.
Extension Challenge: The Density Gradient
Real labs sometimes sort soil minerals in a density gradient tube — liquids layered lightest-on-top so grains settle at their own density level, producing a fine-grained fingerprint. Research how a gradient tube is built and explain how it could tell apart two sites that your color/pH/settling tests found nearly identical. What extra discriminating power does density add?
Teacher Notes
Setup, timing, and grading (click to expand)
- Prep: Collect the four soils from genuinely different spots (a garden, a sandy area, a wooded/organic-rich area) so profiles clearly diverge. Dry and sieve out debris in advance. Pre-label all jars. Make the boot unknown a scoop of one site's soil (keep which one sealed).
- Time the settling. Start the settling columns first, then do color, sparkle, and pH while the layers form — otherwise groups sit idle.
- Differentiation: For a shorter version, drop the settling column and compare on color + pH + sparkle only. For a challenge, add a decoy site whose soil is deliberately close to the true source so groups must rely on the full property stack.
- Assessment focus: Reward students who base the match on multiple converging properties and who correctly distinguish association from individualization. A one-property "match" should not earn full marks.
Case Closed — For Now

You turned a smear of mud into a location — color, chemistry, and a settling column all pointing the same way. That's exactly how a real forensic geologist ties a suspect to the ground they walked on. Follow the evidence!