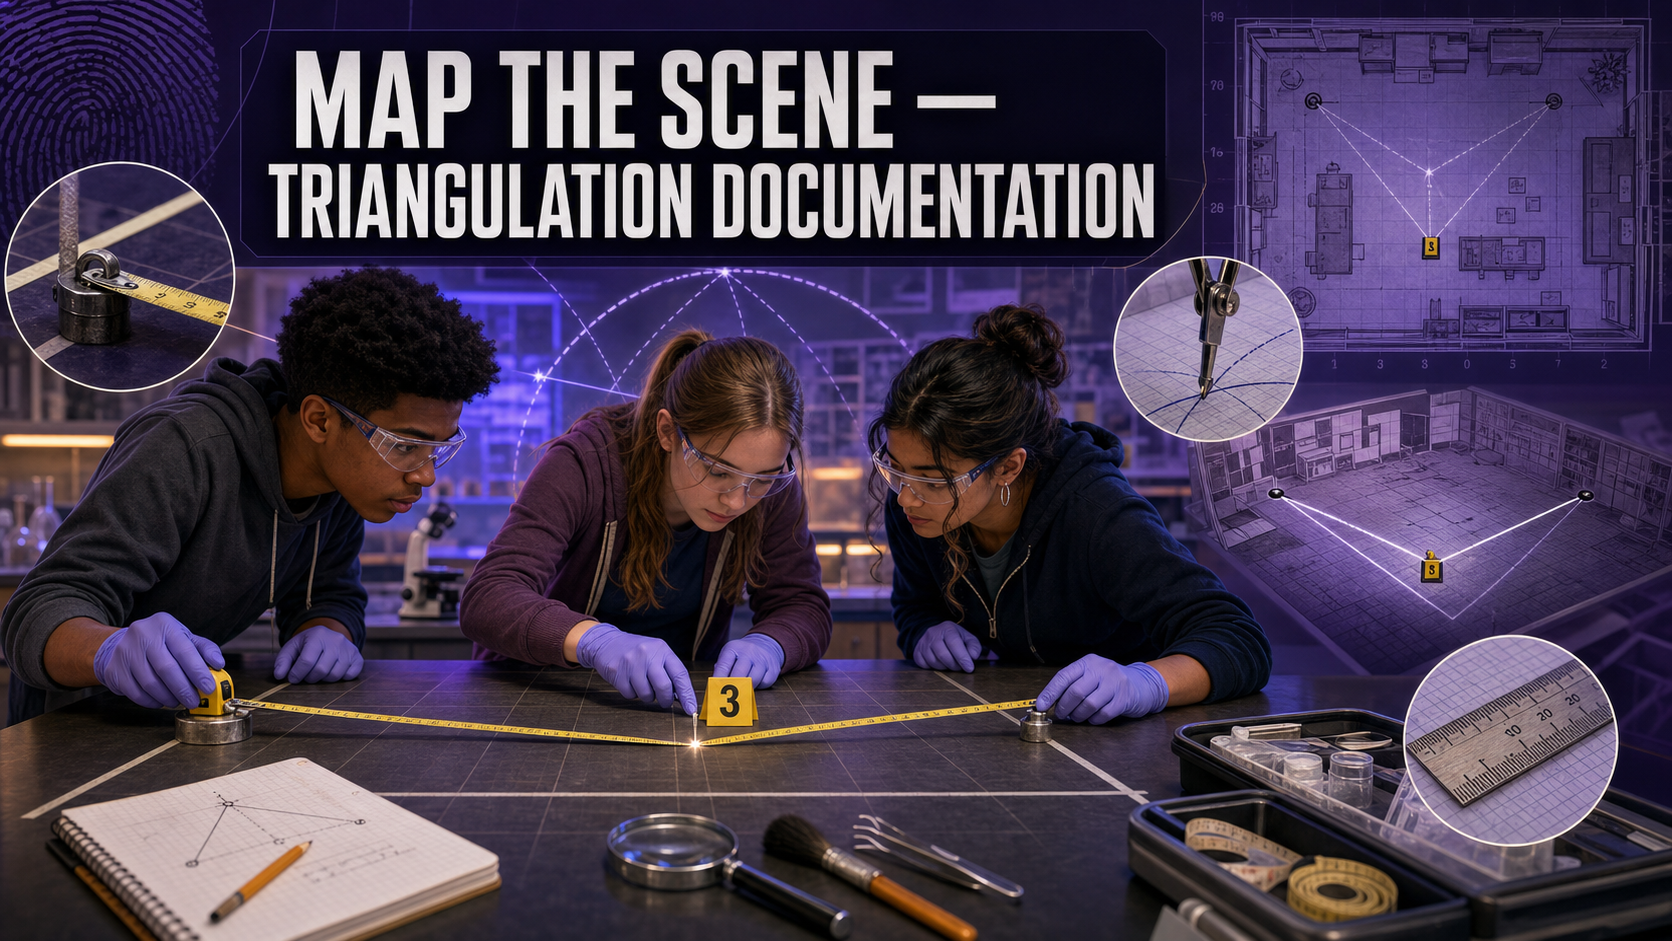
Map the Scene — Triangulation Documentation
Welcome, Investigators!

A crime scene gets taken apart the moment the investigation ends — the tape comes down, the evidence goes to the lab, and the room goes back to normal. The only thing that survives is your documentation. Today you'll make a map so precise that another team can rebuild the scene without ever seeing it. Measure twice. Follow the evidence!
The Case
A break-in was reported in Room 114. When your team arrives, five items of evidence are scattered on the floor: a dropped phone, a key, a "weapon," a crumpled note, and a shoe. Nobody can move anything until it's documented — but the room is needed for class in one hour. You must capture the exact position of every item so the scene can be perfectly reconstructed later, in court if necessary.
Learning Objectives
By the end of this investigation you will be able to:
- Identify two fixed reference points suitable for measurement.
- Apply the two-point triangulation method to fix an item's position.
- Produce a scaled sketch with a legend, scale bar, and north arrow.
- Evaluate documentation quality by reconstructing a scene from a sketch.
Quick Facts
| Lab type | 🧪 Physical bench lab |
| Group size | 2–4 investigators |
| Time | 45–55 minutes |
| Cost | ≈ $12 per group (consumables) |
| Ties to | Ch 2 — Crime Scene Sketching, Scaled Sketches, Triangulation, Documentation |
Materials
Per group (≈ $12):
- 1 tape measure (25 ft / 7.5 m)
- Painter's tape (to mark reference points and the scene boundary)
- Graph paper
- Ruler and protractor
- 5 numbered evidence tent markers (or folded index cards)
- A few props: a toy phone, a key, a "weapon," a note, a shoe
Background: Why Two Distances Fix One Point
A single measurement isn't enough. If you only know an item is "180 cm from the door," it could sit anywhere on a circle of that radius. But measure it from two fixed reference points and only one location satisfies both distances at once. That is triangulation, and it is the backbone of a courtroom-quality crime-scene sketch.
A good reference point is fixed, permanent, and independently verifiable — a wall corner, a door frame, a bolted-down cabinet. A measured distance is the straight-line distance from the item to that reference point, recorded to the nearest centimeter.
Practice the method in the simulator before you pick up a tape measure.
Explore: Triangulation Measurement
Triangulation Measurement Technique Interactive MicroSim
Type: microsim
sim-id: triangulation-measurement
Library: p5.js
Status: Specified
Learning Objective: Apply triangulation measurement to record evidence position on a scaled sketch (Bloom Level 3 — Apply).
Drag the evidence marker and watch the two measured distances update. Notice how the two arcs cross at exactly one point — that intersection is the item's fixed location on your sketch.
Procedure
Part 1 — Set up the scene.
- Tape off a rectangular "room" boundary on the floor.
- Choose and label two reference points (for example, RP-1 = door corner, RP-2 = window corner). Mark them clearly.
- Place your five numbered evidence markers around the room.
Part 2 — Measure and sketch.
- Pick a scale for your graph paper (for example, 1 square = 20 cm) and draw the room outline, both reference points, a north arrow, and a scale bar.
- For each evidence item, measure its straight-line distance to RP-1 and to RP-2. Record both distances in your data table.
- On the graph paper, draw an arc of each distance (to scale) from each reference point. Where the two arcs cross is the item's location — mark and number it.
- Add a legend that names each numbered item.
Part 3 — Test your documentation.
- Clear the room. Hand your sketch (and only your sketch) to a rival team.
- Using your measurements, they place the items back on the floor. Measure how far each placed item is from its true original spot — that distance is your reconstruction error.
Data Collection
| Item # | Item name | Distance to RP-1 (cm) | Distance to RP-2 (cm) | Reconstruction error (cm) |
|---|---|---|---|---|
| 1 | ||||
| 2 | ||||
| 3 | ||||
| 4 | ||||
| 5 |
Analysis Questions
- Which two reference points did you choose, and why were they good choices?
- What was your average reconstruction error? Which single item was placed least accurately, and why do you think that happened?
- Why does measuring from two points fix a location when one point cannot?
- A sketch with no scale bar was submitted as evidence. Why might a judge refuse to admit it?
- How would you adapt this method to document an item's height on a wall (a third dimension) rather than a position on the floor?
Deliverable
Turn in your scaled crime-scene sketch (with legend, scale bar, and north arrow) plus the completed data table showing your reconstruction error. The team with the lowest average error wins the "Best Documentation" award.
Investigator Tip

Always measure to the same part of each item — pick the center, or one corner, and be consistent. Sloppy, inconsistent measuring points are the number-one cause of a reconstruction that drifts off target.
Extension Challenge: The Baseline Method
Some scenes are documented with the baseline method instead of triangulation: distances are measured along and out from a single straight reference line. Sketch the same room using a baseline. Which method was faster? Which was more accurate for your room shape?
Teacher Notes
Setup, timing, and grading (click to expand)
- Prep: Pre-mark two reference points per station so groups start measuring immediately. Hallway floor tiles make a handy built-in grid.
- The reconstruction test is the point. Do not skip Part 3 — it turns an abstract "make a sketch" task into a measurable, competitive outcome and instantly exposes vague documentation.
- Differentiation: For a shorter version, reduce to three evidence items. For a challenge, require metric conversion or add a wall-mounted item that needs a height measurement.
- Assessment focus: Reward a correct, labeled scale bar and low reconstruction error over a "pretty" sketch. Precision beats art.
Case Closed — For Now

Your scene is gone — but your map lives on, accurate to the centimeter. That is exactly what a real investigator hands to a courtroom months after the tape came down. Nicely measured, investigators. Follow the evidence!