Basic Face Layouts
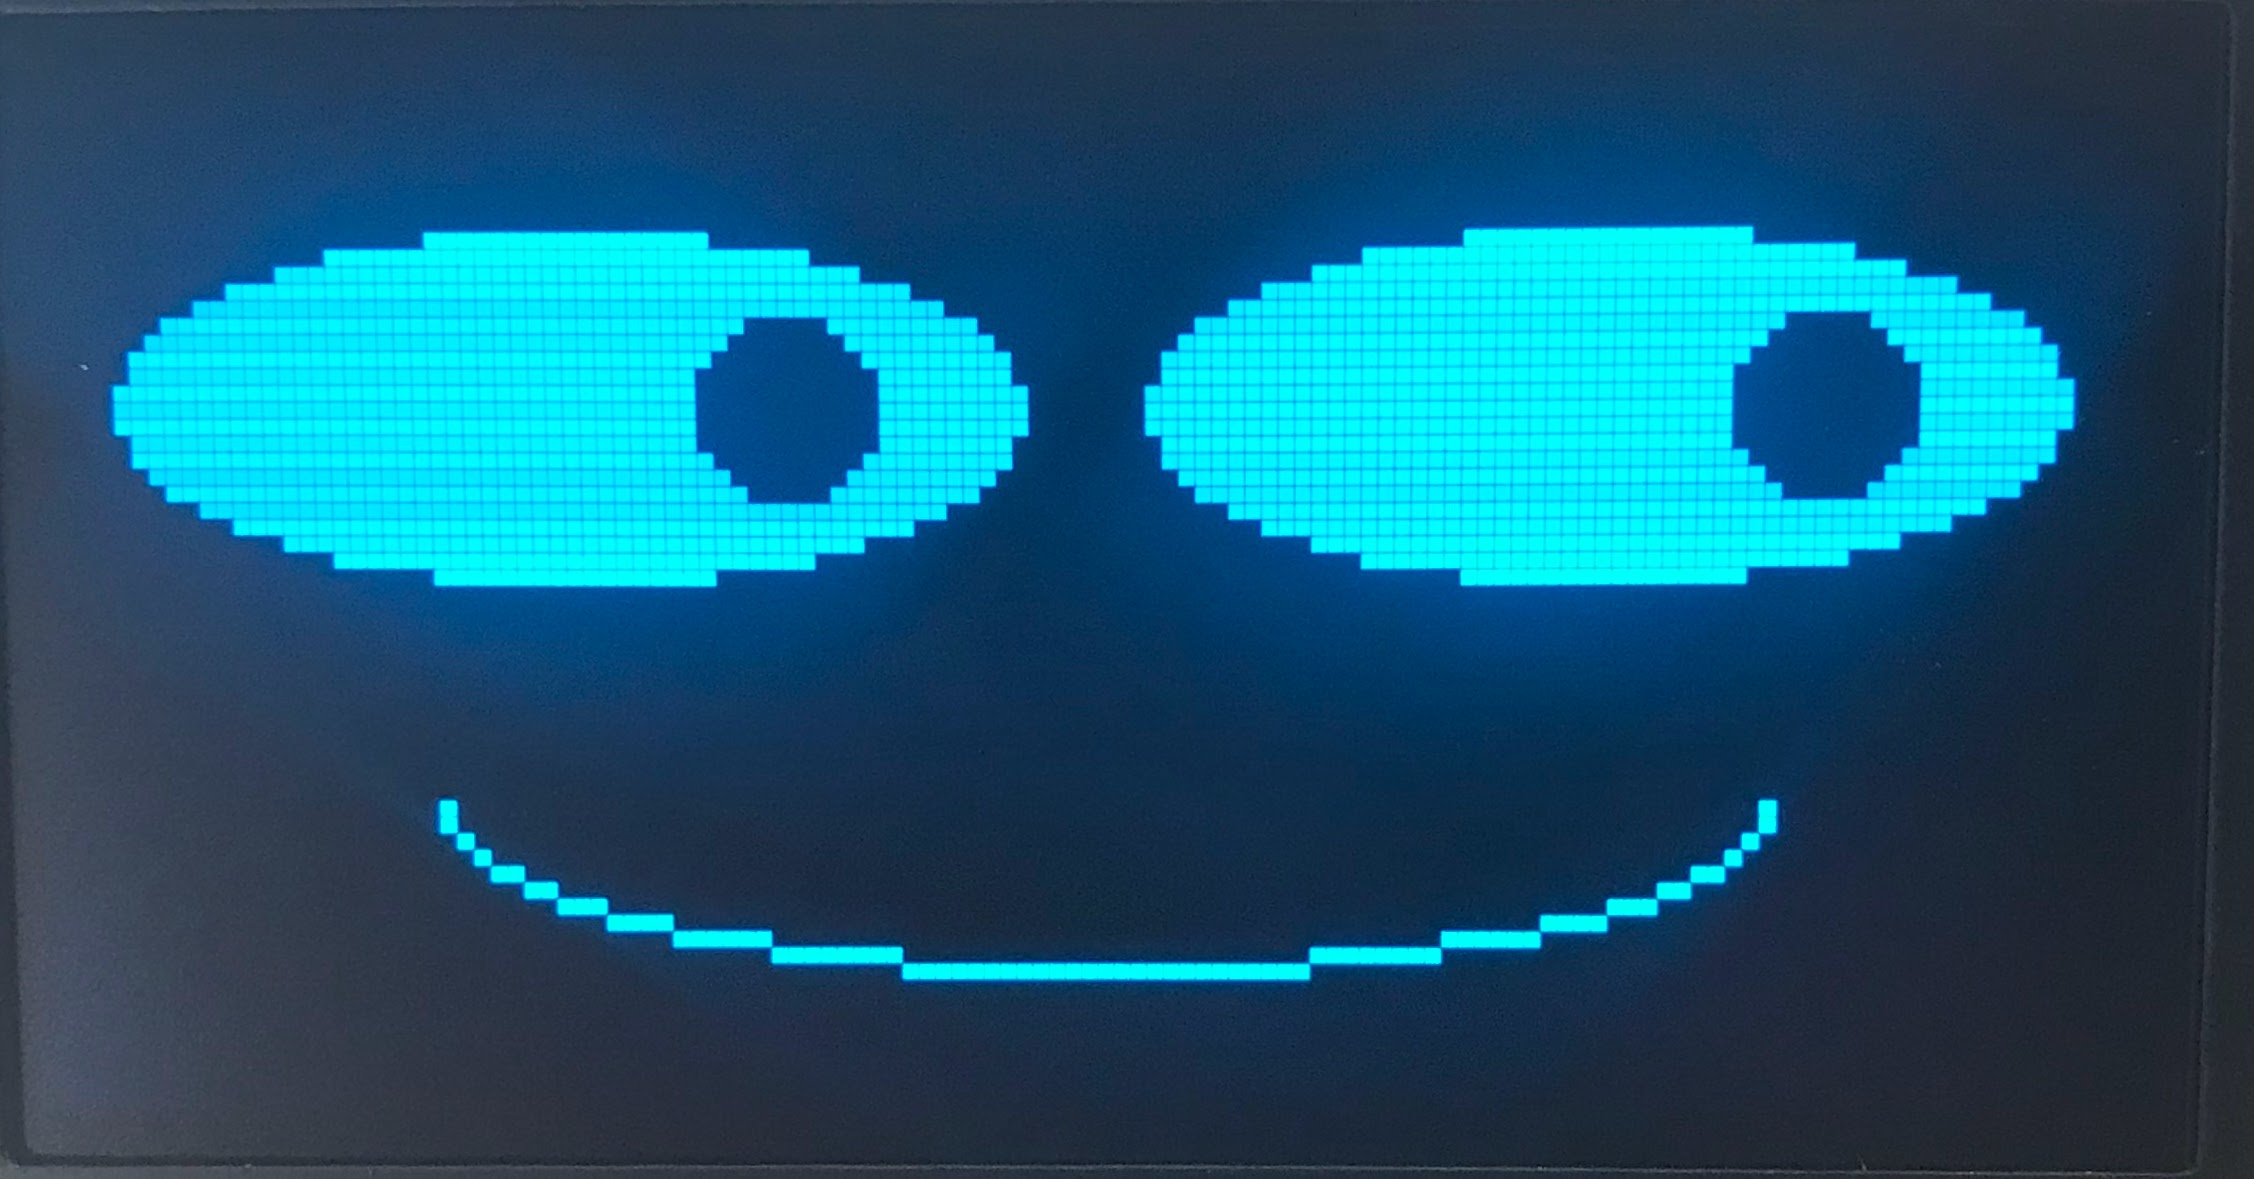
A face is not one drawing command — it is several simple shapes, placed with care, that read as a face the moment your eye lands on them. This lesson builds the four components every expression in this book starts from: a face outline, two eyes, two eyebrows, and a mouth. Once you can place these four pieces, every later lesson is really about moving them.
Let's Build a Face from Scratch
 Four shapes, one function, a whole face. Every pixel tells a story!
Drawing Constants
Naming your numbers before you use them is what makes a face layout easy to adjust later. HALF_WIDTH and HALF_HEIGHT locate the center of the display, and the QUARTER_* constants give you a quick way to place features a quarter of the way across or down the screen.
1 2 3 4 5 6 7 8 9 10 11 12 13 14 15 16 | |
The Face Outline
Start with a wide white ellipse on a black background as the face itself. You do not strictly need this step — people will happily read the whole display as a face without a visible outline — but it is a gentle way to get comfortable with the ellipse() function before the smaller, trickier shapes.
1 2 | |
Recall the six main parameters of ellipse():
1 | |
Here is a sample face outline:
1 | |
Here is what each parameter is doing:
- Center of the face —
HALF_WIDTH, HALF_HEIGHTputs the ellipse dead center on the display. - Width and height — half of
FACE_WIDTHand half ofFACE_HEIGHT, becauseellipse()takes a radius, not a full width. - Draw with white — the
WHITEcolor parameter. - Fill, not outline — the
FILLparameter.
Eyes
Eyes can start out as nothing more than two filled circles, drawn about a third to a half of the way down the face. That vertical position is often called the eye height, measured from the top of the display.
1 2 3 4 | |
Placing the eyes at exactly QUARTER_WIDTH and QUARTER_WIDTH * 3 looks too spread out on a real display, so the code nudges each eye 10 pixels toward the center. QUARTER_HEIGHT alone also sat a little too high, so both eyes get an extra 10 pixels of drop as well. That kind of small, deliberate adjustment — measure, look, nudge — is normal, not a mistake.
Eyebrows
Eyebrows are the single most expressive feature on a robot face, and the good news is that a basic pair only needs the line() function you already know. Each eyebrow is one short diagonal line sitting just above an eye.
One Small Slope Changes Everything
 Remember that
 y grows downward on this display. Slope the inner end of each eyebrow down toward the nose and the face reads as angry; slope it up and the same two lines read as worried. Flat brows read as calm.
1 2 3 4 5 6 7 8 9 10 11 12 13 14 15 16 | |
This straight-line version is enough to give a face real personality, and it is the fastest way to draw an eyebrow. When you are ready for eyebrows with a bend in them — the shape a real, expressive eyebrow actually has — the Eyebrows lesson shows you how to build the same feature out of the poly() function instead.
Mouth
A mouth reuses a trick you have already seen: the ellipse() function's optional seventh parameter, a quadrant fill code, lets you draw only part of an ellipse. BOTTOM_HALF (a value of 12) draws just the lower half, which curves upward at the ends like a simple smile.
1 | |
This mouth sits 10 pixels below center, is 60 pixels wide (twice the horizontal radius of 30), and is 20 pixels tall at its full height (twice the vertical radius) before the bottom-half mask cuts it down to a curve.
Same Trick, Different Feature
 Quadrant fill codes are not just for mouths.
 TOP_HALF on the same ellipse call gives you a closed, squinting eye — you will use exactly that trick in the Winking with a Smile lesson.
Full Face Function
Here is a complete Python function that draws all four components — outline, eyes, eyebrows, and mouth — on your robot's display:
1 2 3 4 5 6 7 8 9 10 11 12 13 14 15 16 17 18 19 20 | |
Notice the eyebrows switch from WHITE to BLACK here. The earlier eyebrow example was drawn straight onto a black background; inside draw_face(), the eyebrows sit on top of the white face outline, so they need to be black to stay visible — the same lesson the mouth and eyes already taught you.
Here is the face that function draws:
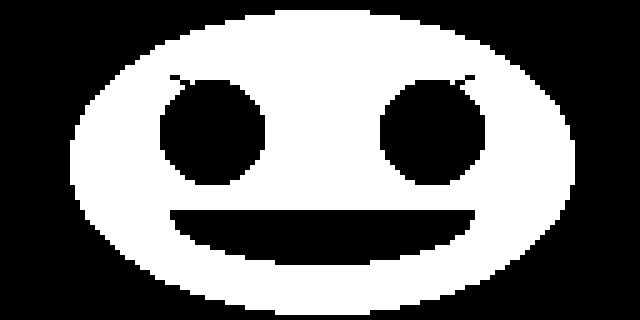
That's a Complete Face
 Outline, eyes, eyebrows, mouth — every part a robot face needs is now on the screen, and every one of them is a named constant you can tune. Great expression!
Things to Try
- Move
EYEBROW_TILTto a negative number. The eyebrows now angle up and away from the nose instead of down toward it — watch the face go from stern to worried. - Set
EYEBROW_TILTto 0. Flat eyebrows read as calm and neutral, which is a useful resting expression between other emotions. - Shrink
EYE_SIZEto 4. Small eyes on the same face outline can make a robot look surprised or startled, even with the mouth unchanged. - Change the mouth's fill code from
BOTTOM_HALF(12) toTOP_HALF(3). A smile becomes a frown with one number. - Skip the face outline entirely. Comment out the first
ellipse()call indraw_face()and see whether the eyes, eyebrows, and mouth alone are still enough to read as a face.
References
- MicroPython Framebuf Documentation — the full signatures for
ellipse(),line(), andpoly() - Ellipse Lesson — a deeper look at quadrant fill codes
- Drawing Lines — the eyebrow rule that explains why sloped lines carry so much emotion
- Eyebrows — building curved, more expressive eyebrows with
poly() - Winking with a Smile — reusing the quadrant-mask trick from this lesson's mouth on an eye