Robot Faces — 1.2" Smartwatch Kit
This kit is the OLED two-button kit ported to a 240 × 240 round color display — the same GC9A01 panel used in cheap smartwatches and round dev boards. Every lab number means the same thing it does in the OLED kit, so the two can be taught side by side, and the differences between them are most of the lesson.
There is also a larger 2.1" Smartwatch kit built on a 360 × 360 GC9B72 display — the panel in this AliExpress listing, which is where the sibling kit gets its display.
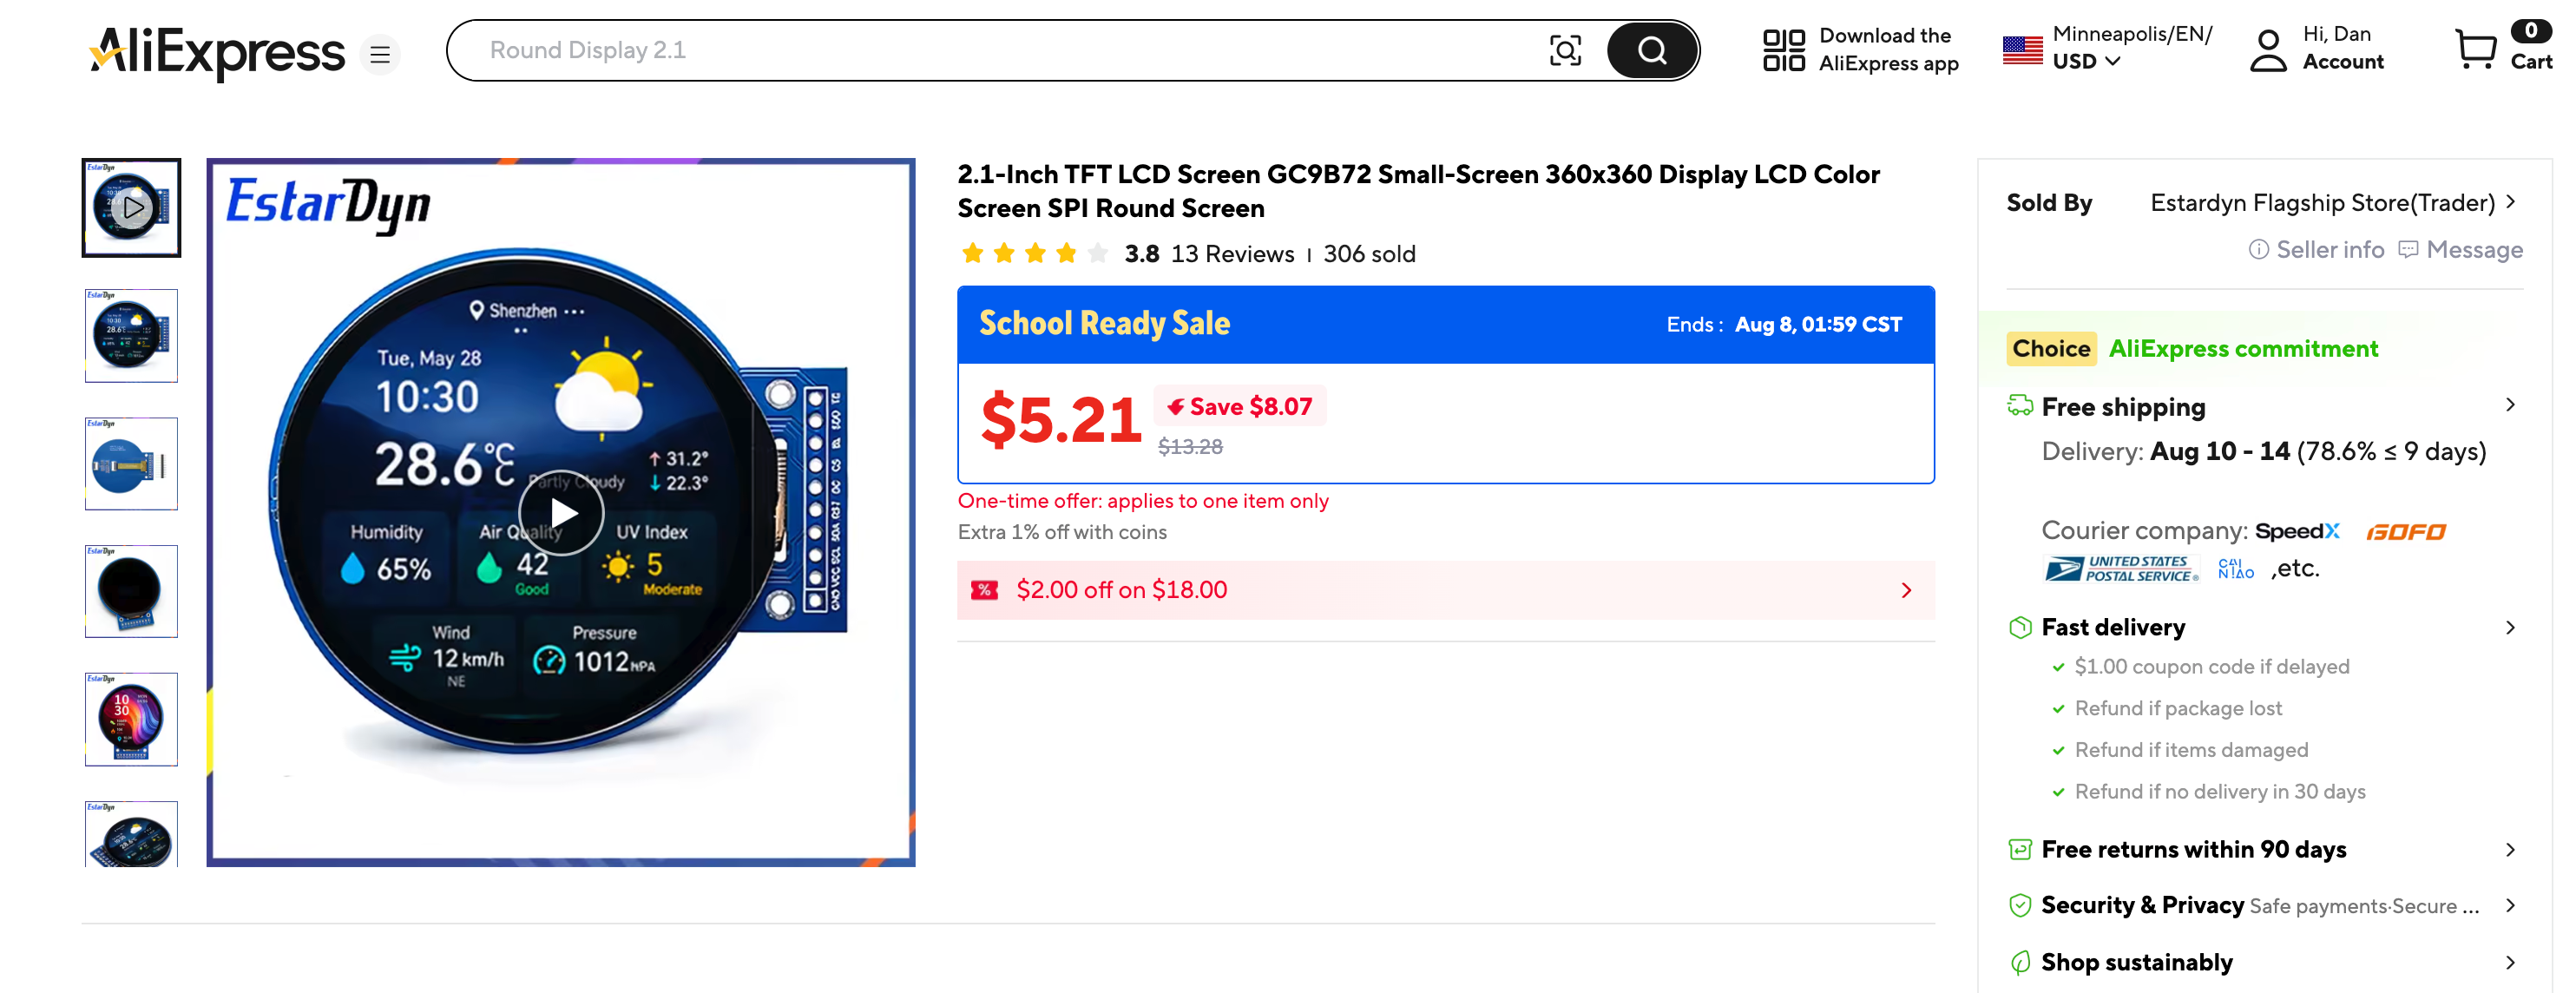
The big advantage of both kits is the low cost. A round SPI display module and a Pico together come to under $10 from sites like AliExpress and eBay.
Three Facts That Drive Everything
Read these before the first lab. Each one shows up later as a different bug when somebody forgets it.
| Fact | Consequence |
|---|---|
| It is round. The controller addresses a 240 × 240 square; the glass is the circle inside it. | A corner pixel is real, addressable, and permanently invisible — with no error message. |
| It is color. A pixel is a 16-bit RGB565 number, not a 0 or a 1. | Two bytes per pixel instead of one bit — sixteen times the memory. |
There is no frame buffer, so there is no show(). |
Every drawing call goes straight down the SPI wire, and costs real time. |
That third one is the big one. Animations here erase only the box that changed, starting at lab 11 rather than waiting for lab 29. On this hardware that is not an optimization you save for later — it is the price of admission.
Getting Started
| Lesson | What you'll learn |
|---|---|
| Connection Test | Blink GP25 and prove the board is alive before you wire anything |
| Hello World | Confirm the display works, and that text() needs a font module |
| Screen Coordinates | The coordinate system — and that the corners are not there |
The Drawing Primitives
These seven lessons cover every drawing command you will need. Work through them in order and you will have the complete toolkit.
| Lesson | Command |
|---|---|
| Pixel | pixel() — the single dot, and why one call per dot is expensive here |
| Lines | hline(), vline(), line(), and the eyebrow rule |
| Rectangle | rect() vs fill_rect(), and erasing with black |
| Ellipse | shapes.ellipse() and the quadrant fill codes |
| Circle | Circles, and ring() — the shape a round screen was made for |
| Polygon | shapes.poly() and the scanline fill behind it |
| Blit | blit_buffer(), RGB565 sprite memory, and keyed transparency |
Building Faces
| Lesson | What you'll learn |
|---|---|
| Your First Face | The first complete expression: eyes + eyebrows + mouth |
| Eye Scanner | Animating a pupil sweep by erasing only the eye boxes |
| Winking with a Smile | A closed-eye arc on just one eye |
| Blinking | Reading a button with debounce, and closing both eyes |
| Eyebrows | Curved eyebrows built from poly() |
| Don't Block the Loop | Pacing with ticks_ms() — and how a slow draw blocks too |
| Sleeping Face | Closed eyes, drooping brows, and a drifting Zzz |
Buttons, Menus, and Demos
| Lesson | What you'll learn |
|---|---|
| Reading Two Buttons | Two buttons independently, and why text has to be erased first |
| Mode Switching | Button A and B cycle forward and back through a list |
| The Expression Menu | A two-button menu over all seven Ekman emotions |
| Demo Reel | A self-running showcase, no buttons needed |
| Standalone main.py | Demo reel + button menu, meant to become main.py |
| Live Face Parameters | Tuning one face parameter live with two buttons |
Thinking About Your Code
The lessons above teach you how to make the hardware do something. These eleven teach you how to think about the code you just wrote — the four habits that transfer to every program you will ever write, taught on code you already understand.
Work them in order, and only after you have finished the lessons above.
| Lesson | Thinking skill | What you'll learn |
|---|---|---|
| The Face Module | Decomposition, abstraction | Move the duplicated face parts into one shared file |
| The Emotion Table | Pattern recognition | Seven emotions become seven rows of data — then color arrives as one more column |
| Five Broken Faces | Debugging | Five planted bugs, a method for finding them, and a symptom table |
| Trace and Watch | Debugging by measurement | An on-screen instrument panel for bugs you cannot photograph |
| Keyframes | Algorithms | An animation is a list of poses, and one player runs them all |
| A Face With a Memory | Abstraction, modeling | States and transitions as tables, instead of tangled if-statements |
| Only Redraw What Changed | Decomposition, measurement | Redraw just the moving part, color the boxes to see it, then measure |
| Design Your Own Emotion | All four | Invent an expression and test whether a stranger can read it |
| How Fast Is a Face? | Measurement, algorithms | Race pixel-at-a-time drawing against row runs, and explain the 10x gap |
| Color and Bits | Representation | RGB565 taken apart: masking, shifting, and what 16.7M colors lose |
| The Color Wheel | Measurement, optimization | Every color at once, a full timing report, and an 8.3x speedup |
What's in the Kit
- Raspberry Pi Pico
- 1.28" GC9A01 round display module, 240 × 240
- Half-size solderless breadboard (400 tie points)
- Seven-wire M-F Dupont cable
- Two momentary push buttons
The labs also run unchanged on a Waveshare RP2040-LCD-1.28, which has the round display soldered
onto an RP2040 — flip one line in config.py.
Wiring
The default BOARD = "pico" wiring uses SPI0, and deliberately keeps the same five pins in the same
order the OLED kit uses. Only the last three change meaning.
| Module pin | Pico pin |
|---|---|
| SCL / CLK | 2 |
| SDA / MOSI | 3 |
| DC | 4 |
| CS | 5 |
| RST | 6 |
| VCC | 3V3 |
| GND | GND |
| BL | 3V3 (tied on, on most bare modules) |
| Button A | 14 (PULL_UP, other leg to GND) |
| Button B | 15 (PULL_UP, other leg to GND) |
Buttons A and B are on GP14 and GP15 in every kit in this book, so wiring habits carry across when you swap displays.
Full wiring notes, the Waveshare pinout, upload instructions, and the porting cheat sheet are in the kit's README.
Porting Cheat Sheet
For anyone bringing OLED code across, or teaching the two kits together:
| OLED (SSD1306 / framebuf) | Smartwatch (GC9A01) |
|---|---|
oled = config.init_display() |
display = config.init_display() |
oled.fill(BLACK) |
display.fill(BLACK) — same call, far higher cost |
oled.show() |
(delete it — there is no buffer to push) |
oled.ellipse(x, y, rx, ry, c, f, m) |
shapes.ellipse(display, x, y, rx, ry, c, f, m) |
oled.poly(x, y, coords, c, f) |
shapes.poly(display, x, y, coords, c, f) |
oled.rect(x, y, w, h, c, fill) |
display.rect(...) outline / display.fill_rect(...) solid |
oled.text(s, x, y, c) |
display.text(FONT, s, x, y, fg, bg) |
oled.blit(fb, x, y, key) |
display.blit_buffer(...) or shapes.blit_keyed(...) |
WHITE = 1, BLACK = 0 |
WHITE = 0xFFFF, BLACK = 0x0000 |
| Any x with any y | config.inside_circle(x, y) — they are no longer independent |
| Clear-draw-show every frame | Erase one box, draw one box |